Have you ever looked at your home and thought, “This place could really use a facelift?” Well, you’re not alone. DIY home renovations can be a thrilling yet daunting adventure. But fear not. Whether you’re dreaming of a cozy reading nook or a full kitchen remodel, rolling up your sleeves and getting to work can be incredibly satisfying, both personally and financially. So put on your favorite playlist, grab some snacks, and let’s jump into the world of home renovations where every hammer swing counts.
Understanding the Basics of DIY Home Renovations
Before diving headfirst into renovations, it’s crucial to understand the basics. First off, DIY isn’t just about slapping some paint on the walls and calling it a day. Formulating a plan is key. A good renovation project starts with identifying what you wish to achieve. Do you want to enhance aesthetic appeal, increase functionality, or perhaps boost property value? Knowing your goals helps in choosing the right projects.
Also, consider your skill level. Some projects, like installing shelves, may be simple, while others, like rewiring electrical systems, can rapidly turn into a DIY nightmare if you’re not prepared. Familiarizing yourself with fundamental tools and methods will pay off significantly.
Research is another essential step. Watching videos and reading articles can provide insights and tricks of the trade. Eventually, a thorough understanding of your objectives and limitations can save you time, frustration, and money in the long run.
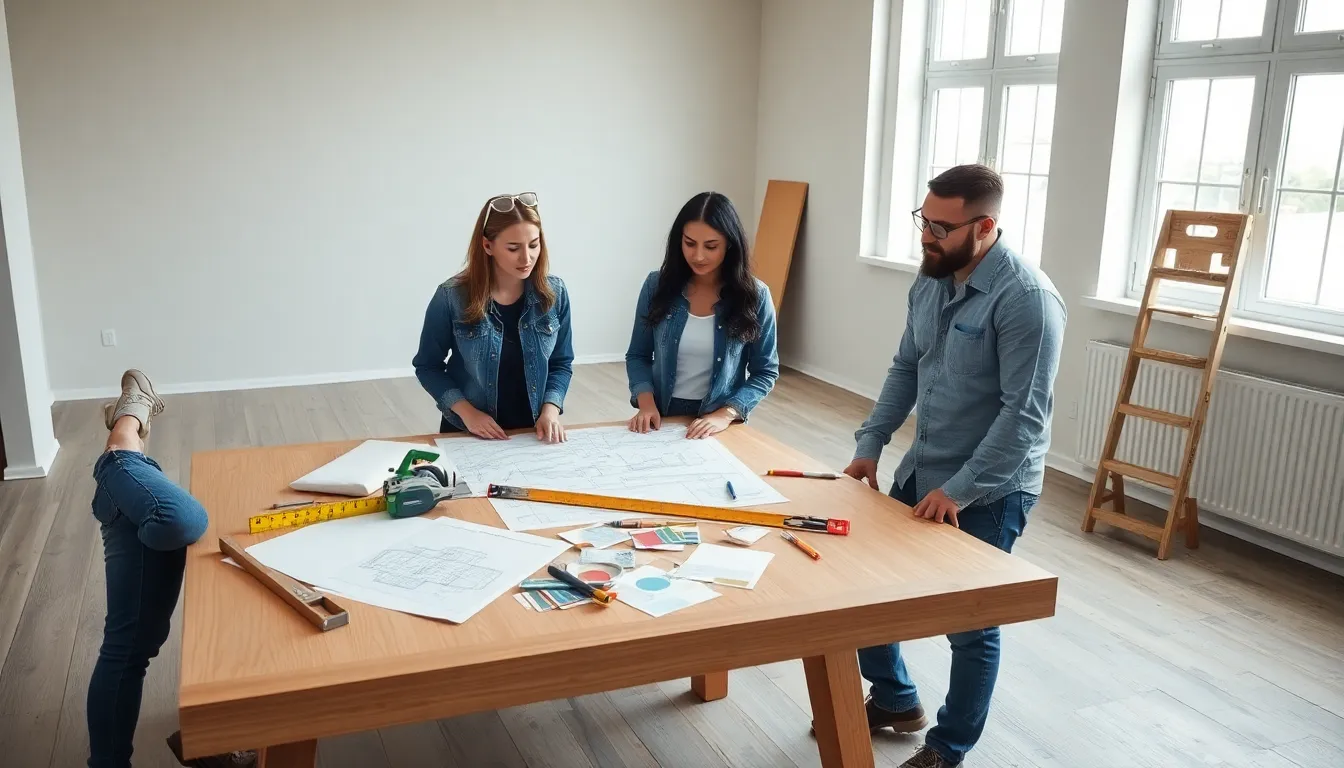
Choosing the Right Renovation Projects
Selecting the right renovation projects can be the difference between a successful DIY experience and an uphill battle. Start by evaluating your home. Walk through each room and make a list of both cosmetic and functional improvements.
While it’s tempting to start by tackling projects that speak to aesthetic appeal, consider which changes would yield the most value. For instance, kitchen renovations and bathroom remodels tend to be wise investments. But, don’t shy away from smaller projects like updating light fixtures or repainting walls, as they can refresh the space without the extensive investment.
Another approach is to focus on areas that will provide the most immediate satisfaction. Focus on high-traffic spaces, where you spend most of your time, so the results of your efforts can be enjoyed right away. Prioritizing projects based on your lifestyle will not only make the renovation process enjoyable but also meaningful.
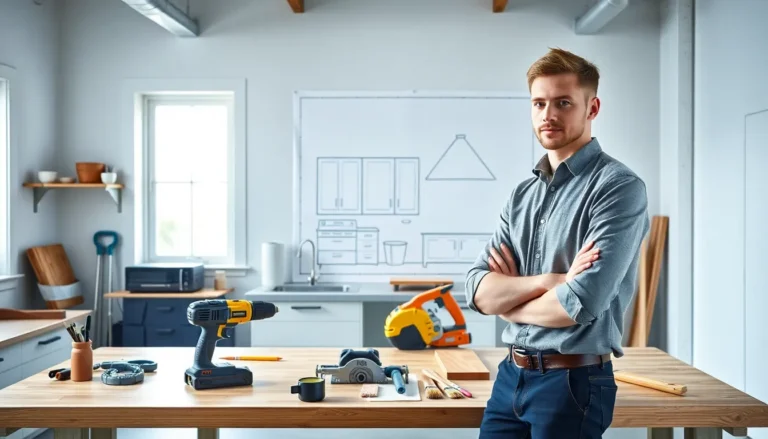
Essential Tools and Materials for DIY Renovations
Now that projects are on the radar, it’s time to gather the essential tools and materials. Whether you’re decked out in full toolbelt regalia or just borrowing your neighbor’s drill, having the right tools can make all the difference.
Key items include:
- Measuring tape: Accuracy is crucial in any renovation.
- Hammer and nails: Simple yet indispensable for various projects.
- Screwdrivers (flathead and Phillips): You never know when you might need to assemble or disassemble furniture.
- Level: A great aid in ensuring everything from shelves to cabinets is perfectly aligned.
- Paint supplies: Brushes, rollers, and trays will be central to any paint jobs.
- Safety equipment: Don’t overlook goggles and gloves: they should be your trusted companions.
With these essentials in hand, you can tackle almost any DIY project safely and efficiently.
Step-by-Step Guide to Common DIY Projects
Let’s take a look at a few common DIY projects that can enhance your home:
Painting a Room
- Prepare the room: Move furniture out and cover the floors with drop cloths.
- Choose your color: Test samples to find your perfect shade.
- Tape edges: Use painter’s tape for clean lines.
- Start painting: Use a roller for large areas and a brush for edges.
- Let it dry: Proper drying time is essential before removing tape and moving furniture back.
Installing a Shelf
- Choose the right location: Consider decor and functionality.
- Mark your spots: Use a level to ensure straight lines.
- Drill holes: Make sure to hit studs for strength.
- Attach brackets: Securely fasten them to the wall.
- Install the shelf: Adorn it with books or decor.
Building a Garden Planter Box
- Select wood: Opt for untreated cedar or redwood.
- Measure and cut: Create side pieces, front, back, and base.
- Assemble: Nail or screw pieces together.
- Seal it: Protect the wood by applying a sealant.
- Add soil and plants: Enjoy your new green space.
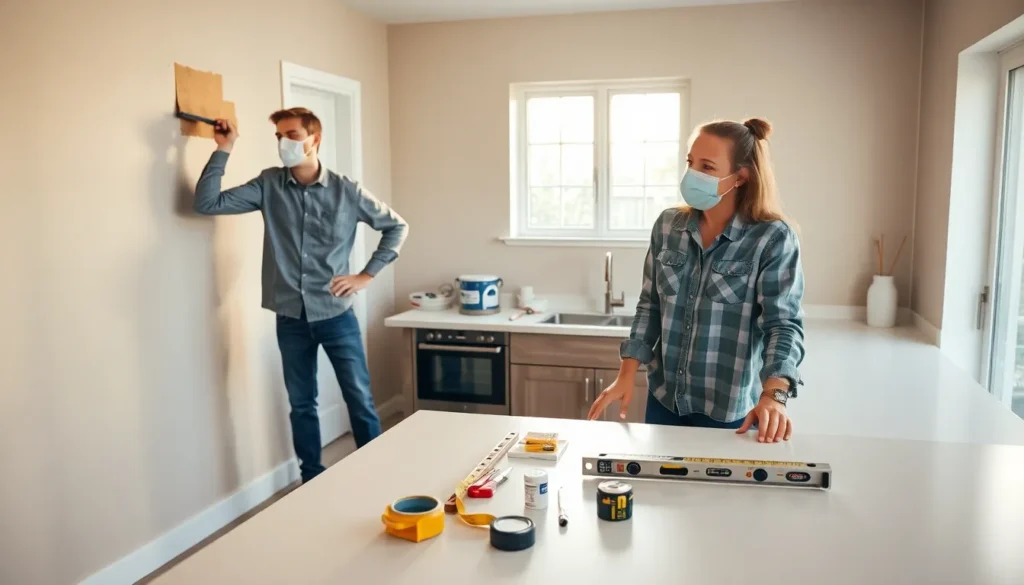
Safety Tips for DIY Home Renovations
Safety should always top the priority list during DIY projects. Here are several tips to keep in mind:
- Wear protective gear: Goggles, gloves, and dust masks can shield against potential injuries or irritants.
- Work in a well-ventilated area: This ensures you aren’t inhaling fumes from paint or chemicals.
- Keep your workspace organized: A clutter-free area prevents accidents and allows for efficient work.
- Know your limits: If a project feels beyond your capabilities, don’t hesitate to call for professional help, there is no absolute shame in that.
- Read safety warnings: Always check instructions and heed safety warnings on tools and materials.
By adhering to these safety precautions, DIY renovations can be both productive and enjoyable.
Budgeting for Your DIY Home Renovation
Determining a budget is crucial before starting any DIY project. Start by outlining the total amount you’re willing to invest, then break this down into individual projects.
Consider costs for:
- Materials: Estimate prices for paint, tiles, wood, etc.
- Tools: Factor in any rentals or new purchases needed.
- Labor: If you need to hire professionals for specific tasks, budget for their fees.
To save extra cash, tap into sales, use coupons, or check out local second-hand stores for materials. Also, plan for unexpected expenses: keeping a buffer in your budget ensures you won’t be caught off guard mid-project.