Table of Contents
ToggleBathroom renovations rank among the highest-return home improvement projects, and Milton homeowners are capitalizing on that fact. Whether dealing with outdated fixtures, poor layouts, or water damage hiding behind old tile, a well-executed bathroom remodel delivers both function and resale value. This guide walks through the planning, design, hiring, and permit considerations specific to renovating bathrooms in Milton, from budget breakdowns to the practical realities of DIY versus contractor work. No fluff, just the details needed to move forward with confidence.
Key Takeaways
- A bathroom renovation in Milton typically costs $12,000–$25,000 for mid-range remodels and takes 4–6 weeks, with budget contingencies of 10–15% essential for unexpected issues in older homes.
- Milton homeowners can recoup 60–70% of their bathroom renovation investment at resale, making it one of the highest-return home improvement projects available.
- Proper permits are required for plumbing, electrical, and structural changes in Milton under the Massachusetts State Building Code, with costs of $100–$300 and adding 1–2 weeks to your timeline.
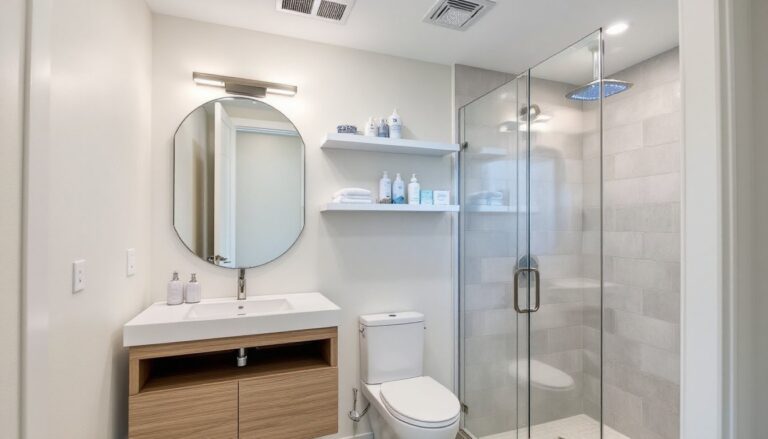
- Smart design choices like walk-in showers with curbless entries, floating vanities, and heated radiant floors add both comfort and modern appeal to Milton bathrooms.
- Hiring licensed, insured professionals for plumbing rough-in, electrical work, and tile installation is critical, while DIYers can handle cosmetic updates, painting, and vanity installation to balance costs.
Why Milton Homeowners Are Investing in Bathroom Renovations
Milton’s housing stock includes a mix of mid-century builds and newer construction, and many older homes still carry original bathrooms with pedestal sinks, single-pane windows, and inadequate ventilation. Updating these spaces isn’t just cosmetic, it’s about moisture control, energy efficiency, and accessibility.
Adding a second full bath or updating a cramped master can significantly boost home value in Milton’s competitive market. According to recent home renovation cost guides, mid-range bathroom remodels recoup around 60–70% of their cost at resale, with higher returns for well-designed projects that match neighborhood standards.
Functional improvements matter, too. Replacing old galvanized supply lines, upgrading to low-flow toilets (1.28 gallons per flush), and installing proper exhaust fans (rated at 50 CFM minimum for bathrooms under 50 square feet) all reduce long-term maintenance headaches. Homeowners also cite comfort and daily usability, getting rid of a leaky shower valve or a vanity with no drawer storage makes a tangible difference.
Planning Your Milton Bathroom Renovation: Budget and Timeline
Start with a realistic timeline. A full bathroom gut and remodel typically takes 4–6 weeks once work begins, assuming no surprises like rotted subfloor or outdated plumbing that needs replacement. Partial updates, new tile, vanity, and fixtures without moving plumbing, can wrap in 2–3 weeks.
Factor in lead times for materials. Custom vanities, specialty tile, and certain fixtures can take 6–8 weeks to arrive, so order early. Always confirm stock availability before finalizing design choices.
Setting a Realistic Budget
Budgets vary widely based on scope and finishes, but here’s a rough breakdown for Milton-area projects in 2026:
- Cosmetic refresh (paint, fixtures, vanity, mirror): $3,000–$7,000
- Mid-range remodel (new tile, tub/shower, vanity, flooring, fixtures): $12,000–$25,000
- High-end renovation (custom tile work, freestanding tub, frameless glass, heated floors, premium fixtures): $30,000–$50,000+
These ranges assume contractor labor. DIY can cut costs by 30–40%, but only if the homeowner has experience with plumbing, tiling, and electrical work. Tile installation alone runs $8–$15 per square foot for labor, and improper waterproofing leads to expensive callbacks.
Allocate 10–15% contingency for unexpected issues. Old homes often reveal corroded pipes, inadequate framing behind tub surrounds, or subfloors that need sistering once demo starts. Building that buffer into the budget prevents mid-project stress.
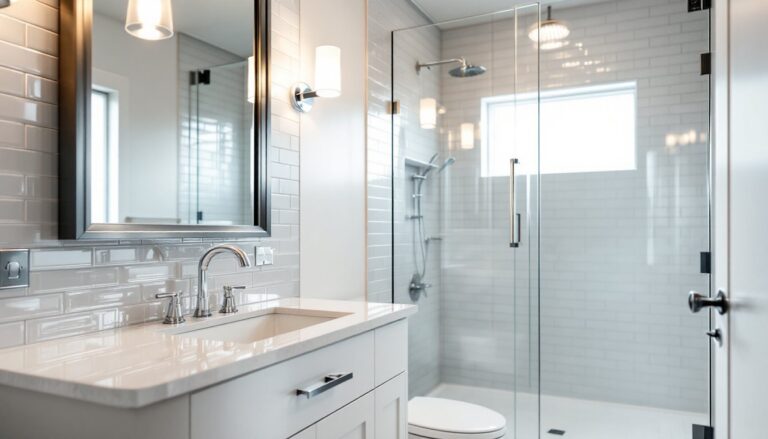
Top Bathroom Design Trends for Milton Homes
Design trends in 2026 lean toward clean lines, natural materials, and long-term durability. Milton homeowners are moving away from overly trendy choices in favor of timeless palettes that age well.
Walk-in showers with curbless entries remain popular, especially for aging-in-place remodels. These require careful floor pitch (minimum 1/4-inch per foot slope) and proper linear drain placement to avoid pooling water. Pair them with 12×24-inch or larger-format porcelain tile to minimize grout lines and simplify cleaning.
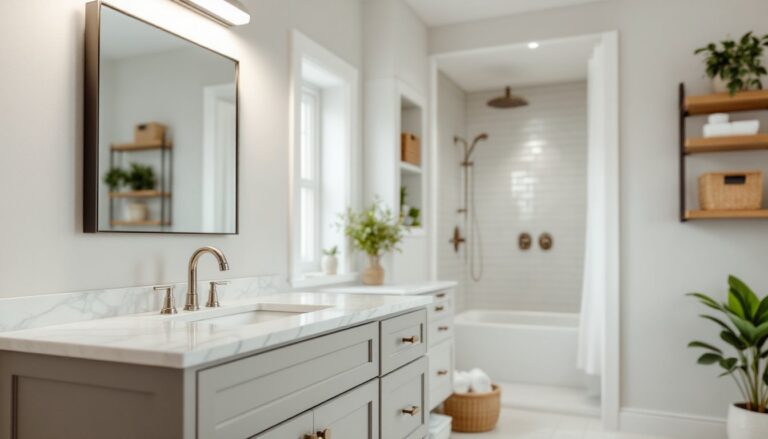
Floating vanities create visual space in smaller bathrooms and make floor cleaning easier. Choose solid plywood construction with soft-close hinges, particleboard falls apart in humid environments. Wall-mounted faucets add a sleek look but require in-wall plumbing adjustments during rough-in.
Matte black and brushed nickel fixtures continue to dominate, often mixed within the same space (black shower fixtures, nickel cabinet hardware). Just keep finishes consistent within each fixture group to avoid a disjointed look.
Heated floors (electric radiant mats installed under tile) add comfort for under $500 in materials for a standard 5×8 bathroom, though they require a dedicated 15-amp circuit and GFCI protection per NEC requirements. Drawing inspiration from bathroom remodel ideas can help homeowners visualize cohesive material pairings and layout options.
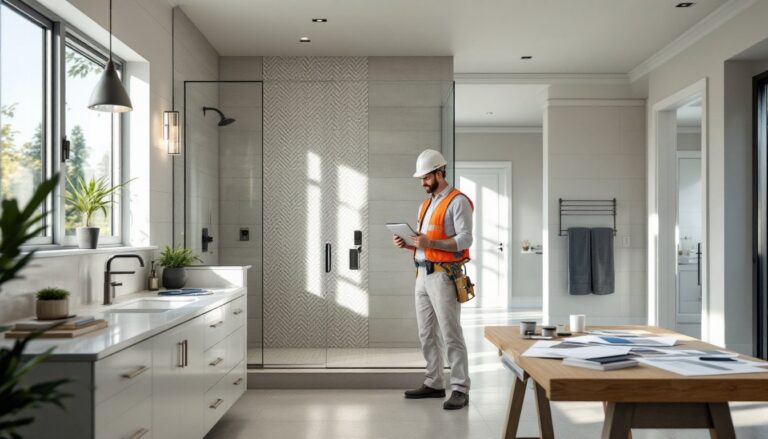
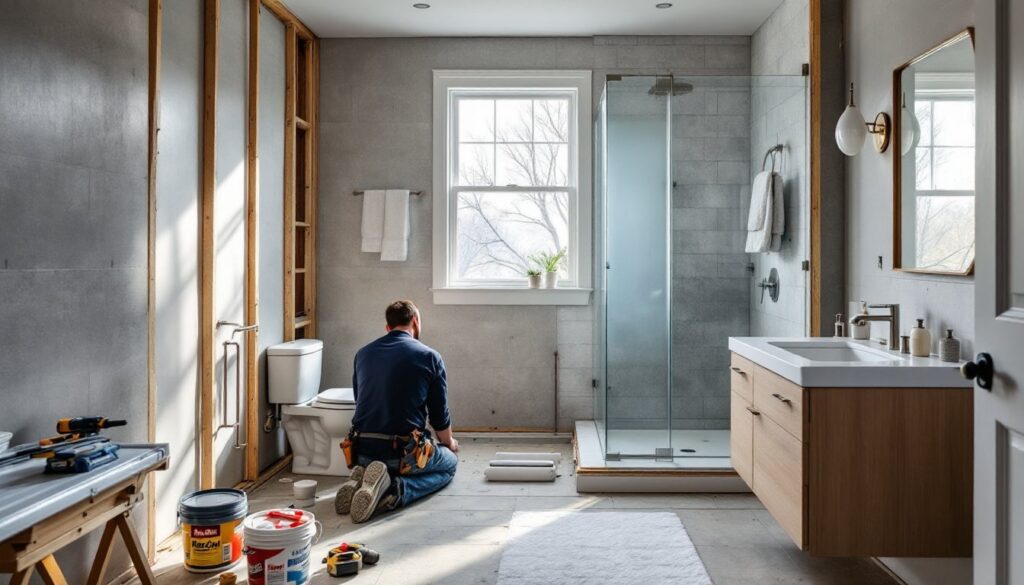
Hiring the Right Professionals vs. DIY Renovation
Not every bathroom project is DIY-friendly. Cosmetic updates, replacing a vanity, installing a new toilet, painting, or swapping fixtures, are manageable for homeowners comfortable with basic plumbing (shutoff valves, compression fittings, caulking).
But full renovations involve multiple trades: plumbers for drain relocation and supply lines, electricians for code-compliant wiring (GFCI outlets, exhaust fan circuits), tile setters for waterproof shower pans, and sometimes HVAC contractors if adding radiant heat. Coordinating these trades takes experience.
When hiring a general contractor, verify they’re licensed and insured, and check references on past bathroom projects. Ask to see examples of tile work, especially corner details and shower niches, that’s where craftsmanship shows. Get at least three written estimates with line-item breakdowns, not lump sums.
For DIYers tackling tiling: invest in a wet saw with a sliding table (rentals run $60–$80/day), not a snap cutter. Use RedGard or Kerdi waterproofing membrane on all wet-area walls and shower pans. Skipping this step invites mold and subfloor rot within a year.
Know when to call a pro. Moving a toilet drain requires cutting into the floor joist structure and maintaining proper slope (1/4-inch per foot for waste lines). That’s not a YouTube-tutorial project, it’s structural work that affects the entire plumbing stack.
A hybrid approach works well: hire pros for plumbing rough-in, electrical, and tile work, then handle painting, vanity installation, and trim yourself. This balances cost control with quality results.
Navigating Permits and Regulations in Milton
Milton operates under the Massachusetts State Building Code and local amendments, and most bathroom renovations trigger permit requirements. Here’s what typically needs approval:
- Plumbing permits: Required for any changes to supply lines, drains, or fixture relocation. Even replacing a toilet with a different mounting footprint may need inspection.
- Electrical permits: Needed when adding circuits, relocating outlets, or installing new lighting or exhaust fans. All bathroom outlets must be GFCI-protected and on dedicated 20-amp circuits if serving countertop areas.
- Building permits: Required when altering structural elements (removing walls, modifying floor joists for new drains, or adding windows).
Cosmetic work, replacing a vanity in the same footprint, repainting, or installing new tile over existing walls without plumbing changes, generally doesn’t require permits, but call the Milton Building Department to confirm before starting work.
Permit costs in Milton typically run $100–$300 depending on scope. The process adds 1–2 weeks to the timeline for plan review and approval, plus scheduled inspections at rough-in and final stages. Skipping permits risks failed inspections during future home sales and voids insurance claims if faulty work causes water damage.
Contractors should pull permits as part of their service. If they suggest skipping this step, find someone else. DIYers can apply as homeowner-builders, but inspectors will hold the work to the same standards as licensed trades.
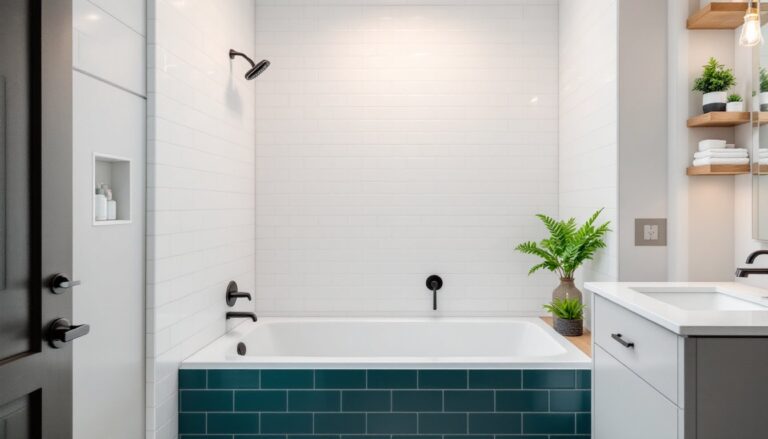
Maximizing Space and Functionality in Your New Bathroom
Smart layout choices make small bathrooms feel larger and improve daily function. Start by identifying pain points: inadequate storage, poor lighting, awkward door swing, or a tub nobody uses.
Pocket doors reclaim floor space in tight bathrooms, though they require a 2×4 stud cavity and proper header framing. Barn doors offer a simpler alternative but provide less privacy (gaps at edges and top).
Recessed medicine cabinets fit between 16-inch on-center studs and add storage without protruding into the room. Depth typically maxes at 3.5 inches (the depth of a 2×4 wall), so they won’t fit large toiletry bottles.
Wall-hung toilets save 6–9 inches of floor space and simplify cleaning, but they require an in-wall carrier system (like Geberit) installed during framing. Costs run $800–$1,200 for the carrier and toilet combined, versus $150–$400 for a standard floor-mount unit.
Lighting layers matter. Combine overhead recessed cans (IC-rated for insulation contact in ceilings below attics) with vanity sconces mounted at eye level (60–65 inches off the floor) to eliminate shadows. Use LED bulbs rated at 2700–3000K for flattering, warm light. Those considering broader renovation strategies will find that bathroom updates often anchor whole-home improvement plans.
Shower niches should sit 48–54 inches off the finished floor (chest height for most users) and slope slightly toward the shower to drain condensation. Frame them during wall construction, not as an afterthought.
Proper ventilation prevents mold and paint failure. Install an exhaust fan rated for the room size (CFM = square footage × 1.1 for 8-foot ceilings) and vent it to the exterior, never into an attic. Timer switches or humidity-sensing models ensure the fan runs long enough to clear moisture after showers.