Table of Contents
ToggleAdding a bathroom to an unfinished basement ranks among the most practical home improvements a homeowner can tackle. The project delivers immediate convenience for growing families, increases home value, and transforms underutilized square footage into functional living space. But basement bathrooms come with unique challenges that don’t exist on upper floors, dealing with below-grade plumbing, managing moisture, and working within tight ceiling heights all require careful planning. This guide walks through the essential steps, from layout design to final finishes, so homeowners know what to expect before the first wall stud goes up.
Key Takeaways
- A basement bathroom renovation increases home value and transforms underutilized space, but requires careful planning around below-grade plumbing, moisture control, and ceiling height constraints.
- Position fixtures within 10 to 12 feet of the main soil stack to minimize plumbing complexity, and choose between up-flush systems ($800–$1,500) or breaking the concrete slab ($1,500–$3,000) based on your budget and renovation scope.
- Moisture control is critical—address grading and exterior drainage first, then install vapor barriers, waterproof membranes in wet areas, and run a 50-pint dehumidifier during construction to prevent mold and structural damage.
- Budget $10,000 to $25,000 for a full basement bathroom renovation with mid-grade finishes, factoring in rough plumbing, framing, fixtures, and flooring with an extra 10–15% contingency for surprises.
- Choose water-resistant flooring like luxury vinyl plank or porcelain tile over laminate and hardwood, and layer lighting (ambient, task, and accent) to brighten small, windowless bathrooms.
- Ensure proper ventilation by running a 50–80 CFM exhaust fan with exterior ducting and a backdraft damper, and follow NEC codes for all bathroom fixtures within 8 feet horizontally and 3 feet vertically of water sources.
Planning Your Basement Bathroom Layout and Design
Most basement bathrooms occupy 60 to 100 square feet, enough for a toilet, vanity, and shower or tub. Before settling on a layout, homeowners should locate the main soil stack, the vertical waste pipe that runs from the roof to the sewer line. Positioning fixtures within 10 to 12 feet of this stack minimizes plumbing complexity and cost.
Ceiling height matters. The International Residential Code (IRC) requires a minimum of 7 feet in at least half the room, with 6 feet 8 inches acceptable above fixtures. If ductwork, joists, or beams eat into headroom, consider a dropped soffit or ceiling-mounted shower head.
Door swing is another detail that trips up first-timers. A standard 32-inch door swinging outward prevents collisions with the toilet or vanity. If space is tight, a pocket door saves inches without sacrificing accessibility.
Space Optimization and Fixture Placement
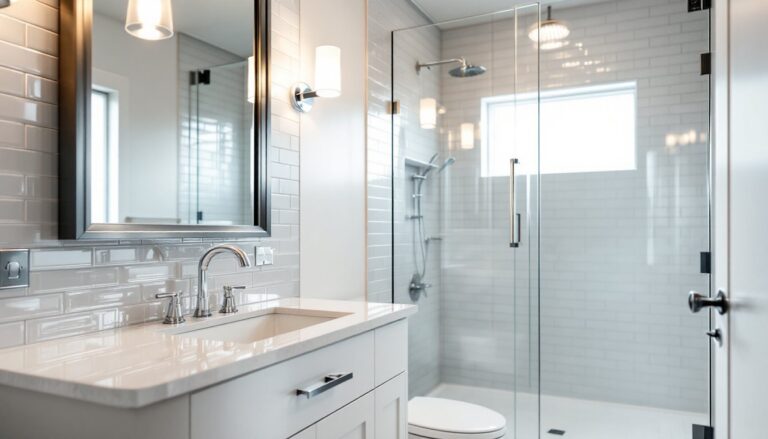
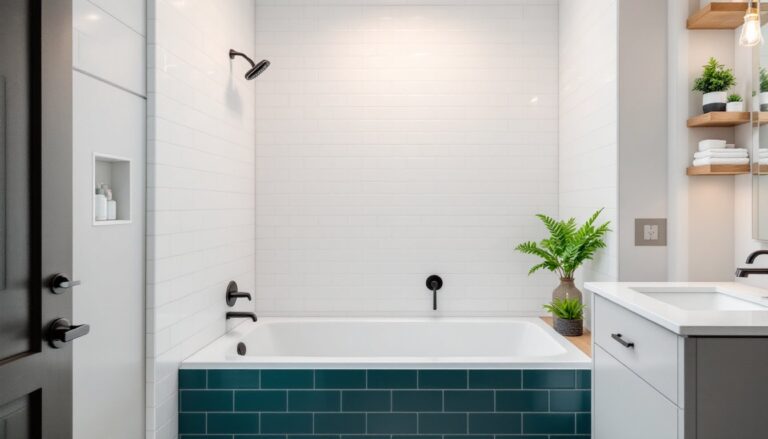
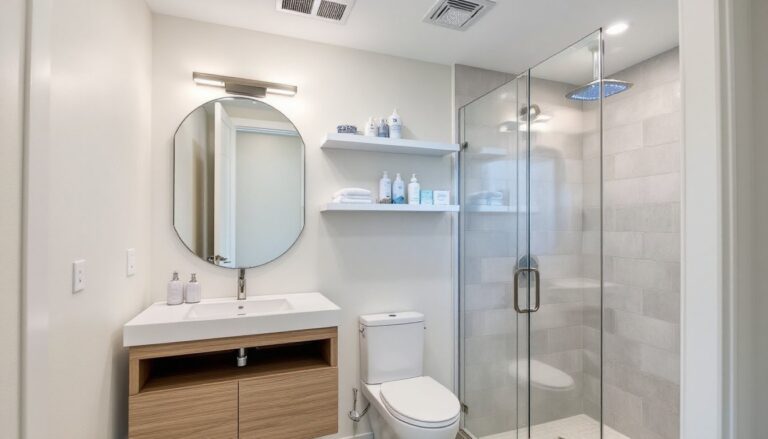
Fixture selection drives the entire layout. A corner shower (typically 36 x 36 inches) frees up wall space for the vanity and toilet, while a tub-shower combo requires at least 60 inches of linear wall. Wall-hung toilets and vanities open up floor area, making small bathrooms feel larger and simplifying cleaning.
Plan the vanity location around existing plumbing and electrical. A single-sink vanity runs 24 to 48 inches wide, while a double-sink unit needs 60 to 72 inches. Leave at least 15 inches of clearance from the toilet centerline to any wall or fixture, code minimum, and 30 inches in front of each fixture for comfortable use.
Ventilation can’t be an afterthought. Bathrooms without windows require an exhaust fan rated for the room’s cubic footage, calculated as length × width × height × 0.13. A 50 to 80 CFM fan handles most basement bathrooms. Many homeowners looking for proven renovation strategies find that early planning prevents costly adjustments later.
Navigating Plumbing and Drainage Challenges
Basement plumbing differs fundamentally from upper-floor work because fixtures sit below the main sewer line. Gravity won’t carry waste away, so homeowners face two primary solutions: up-flush systems or breaking the concrete slab to install traditional drain lines.
Understanding Your Basement’s Plumbing Needs
An up-flush (macerating) toilet grinds waste and pumps it upward to the existing soil stack. Units like those from Saniflo or Liberty Pumps fit behind or beside the toilet, require a dedicated 120V GFCI outlet, and discharge through ¾-inch or 1-inch PVC pipe. Installation takes hours instead of days, and no concrete demo is needed. The tradeoff: higher upfront cost ($800 to $1,500 per unit) and mechanical components that eventually need maintenance.
Breaking the slab for conventional drains costs more in labor but delivers a traditional flush. The plumber cuts a trench through the concrete, ties new 3-inch or 4-inch ABS or PVC drain lines into the existing stack, and repours the floor. This route makes sense if the bathroom is part of a larger basement remodel with flooring already torn out. Expect $1,500 to $3,000 for excavation and rough plumbing, depending on distance to the stack and local labor rates.
Either approach requires a building permit in most jurisdictions. Some municipalities also require licensed plumbers for below-grade drainage work. Homeowners should check local codes before ordering fixtures. Supply lines for water are simpler, ½-inch PEX or copper runs from the nearest cold and hot water source. PEX offers flexibility and freeze resistance, critical in unheated basements.
Moisture Control and Waterproofing Essentials
Basements lose more renovation dollars to moisture than any other issue. Even in dry climates, below-grade walls wick groundwater and condensation forms on cold pipes. Before hanging drywall or laying tile, homeowners need to address moisture at the source.
Start outside. Grading should slope away from the foundation at least 6 inches over 10 feet. Clean gutters and extend downspouts 4 to 6 feet from the house. Interior fixes won’t hold if water floods the foundation every spring.
Inside, inspect for active leaks or efflorescence (white mineral deposits on concrete). If the basement floods or seeps regularly, a bathroom renovation is premature. Install a sump pump, exterior drain tile, or interior French drain system first. Chronic moisture requires professional waterproofing, not just a coat of Drylok.
For typical basement humidity, a vapor barrier on exterior walls prevents condensation inside wall cavities. Frame the wall with 2×4 studs set 1 inch off the concrete, install rigid foam insulation (such as 1-inch XPS or polyiso), then 6-mil polyethylene sheeting before drywall. Some builders skip the poly if using foil-faced foam board, which acts as its own vapor barrier.
Bathroom-specific waterproofing includes a waterproof membrane in the shower, Schluter Kerdi, RedGard, or similar, applied to cement board or foam substrate before tile. Floor tile should go over a crack-isolation membrane to prevent slab movement from telegraphing through grout lines. Proper renovation techniques around wet areas prevent expensive callbacks.
Run a dehumidifier (50-pint minimum) during and after construction until finishes cure. Aim for 30 to 50% relative humidity. High humidity slows drywall mud, paint, and grout curing, and encourages mold behind walls.
Budgeting and Timeline for Your Basement Bathroom Project
A basic basement bathroom costs $10,000 to $15,000 for DIY-friendly work with mid-grade finishes. That includes an up-flush toilet, fiberglass shower, builder-grade vanity, vinyl plank flooring, and standard lighting. Hiring out the plumbing, electrical, and tile work pushes totals to $15,000 to $25,000. Luxury finishes, custom tile, and breaking the slab for conventional drains can exceed $30,000.
Break the budget into phases:
- Rough plumbing and electrical: $3,000–$6,000 (more if the slab is cut)
- Framing, insulation, drywall: $1,500–$3,000
- Fixtures (toilet, vanity, shower): $1,200–$4,000
- Tile and flooring: $1,000–$3,000
- Lighting, ventilation, accessories: $500–$1,500
- Permits and inspections: $200–$800
Regional labor rates swing these figures. Costs run higher in metro areas and lower in rural markets. Homeowners should budget an extra 10 to 15% for surprises, hidden pipes, structural issues, or code updates discovered during inspection.
Timeline depends on scope and whether the work is DIY or contracted. A experienced DIYer with help can frame, plumb, wire, and finish a simple basement bathroom in 4 to 6 weeks working evenings and weekends. Hiring a general contractor shortens the calendar to 2 to 4 weeks, assuming materials arrive on time and inspections don’t stall.
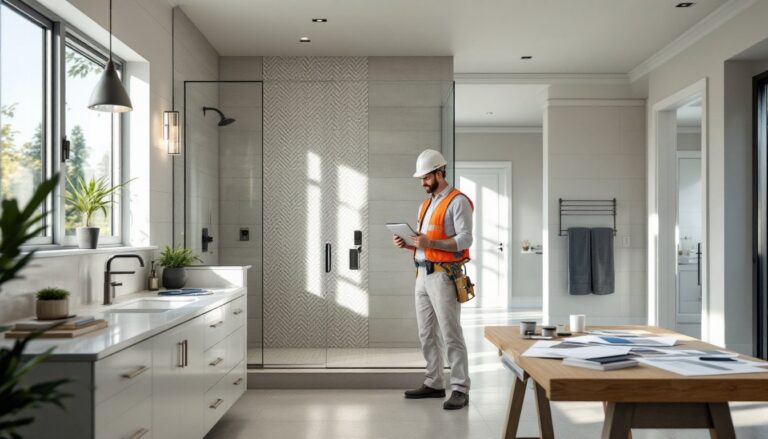
Permit approval adds 1 to 3 weeks upfront. Inspections happen at rough-in (after framing, plumbing, and electrical but before drywall) and final (after finishes). Skipping permits saves time initially but complicates home sales and insurance claims. Estimating costs is easier with resources like HomeAdvisor, which tracks regional pricing and connects homeowners with local contractors.
Finishing Touches: Flooring, Lighting, and Ventilation
Flooring in a basement bathroom must tolerate moisture and potential flooding. Luxury vinyl plank (LVP) tops the list for durability, water resistance, and ease of installation. It floats over a 6-mil poly vapor barrier without glue or nails. Tile remains the gold standard, porcelain outperforms ceramic in moisture resistance and crack tolerance. Avoid laminate (swells when wet), hardwood (warps), and carpet (mold magnet).
Grout color matters more than most homeowners expect. Epoxy grout resists staining and moisture better than traditional cement grout, especially in a shower. Use unsanded grout for joints ⅛ inch or narrower, sanded for wider gaps. Seal cement grout annually to prevent mildew.
Lighting transforms small, windowless bathrooms. Layer three types: ambient (ceiling fixture or recessed cans), task (vanity sconces or backlit mirrors), and accent (toe-kick LEDs or in-shower lights). Recessed cans work in dropped soffits, but they must be IC-rated (insulation contact) if insulation sits above. All bathroom fixtures within 8 feet horizontally and 3 feet vertically of water sources require damp or wet ratings per the National Electrical Code (NEC).
Ventilation prevents mold, peeling paint, and lingering odors. An exhaust fan should vent to the exterior, never into a basement ceiling or crawlspace. Run 4-inch rigid duct (not flexible) the shortest path to an exterior wall or sill plate, and install a backdraft damper to block cold air and pests. Wire the fan to a timer switch or humidity sensor so it runs at least 20 minutes post-shower.
Finishing details like towel bars, toilet paper holders, and mirrors complete the room. Wall-mount accessories into studs or use toggle bolts in drywall. A medicine cabinet recessed into a stud bay saves space, but avoid cutting through electrical or plumbing inside the wall. Design inspiration and fixture ideas can be found through Remodelista, which curates product guides and material selections.
Safety gear throughout the project includes safety glasses, work gloves, dust masks (N95 for cutting cement board), and hearing protection when using power saws. Concrete cutting and demolition require knee pads and steel-toed boots. Keep a GFCI outlet on every circuit in the bathroom, and test them monthly.
Homeowners tackling their first basement bathroom often benefit from a structured approach. Following a detailed how-to renovation guide reduces guesswork and keeps the project on track. Smart planning, realistic budgeting, and attention to moisture control turn a dark corner of the basement into a functional, code-compliant retreat that serves the household for decades.
Whether the project involves a simple powder room or a full bath with a tiled shower, understanding below-grade challenges sets realistic expectations. With the right preparation and a willingness to call in pros when needed, a basement bathroom renovation delivers lasting value and everyday convenience.