Table of Contents
ToggleTub renovations hit a sweet spot for homeowners: they deliver outsized visual impact for mid-range effort and cost. A dingy, outdated tub drags down an entire bathroom, while a refreshed one makes the whole space feel cleaner and more valuable. Whether dealing with rust stains that won’t scrub out, a harvest-gold relic from 1978, or just a builder-grade unit that’s seen better days, homeowners have more renovation pathways than ever. The trick is matching the right approach to the budget, timeline, and skill level. This guide walks through the renovation options, planning essentials, and step-by-step process to turn a tired tub into a centerpiece worth lingering in.
Key Takeaways
- Bathroom tub renovation options include refinishing ($300–$600), liner installation ($1,500–$3,500), or full replacement ($1,200–$5,000+), each with different lifespans and trade-offs in cost, complexity, and design flexibility.
- Refinishing is ideal for cosmetic updates and quick turnarounds, while full tub replacement is necessary when changing size, layout, or addressing structural damage like rotted subfloors or water-damaged framing.
- Proper structural assessment is critical before any tub renovation—flexing floors, soft subfloor spots, or cracked tub bases signal that surface fixes won’t last and underlying waterproofing must be addressed first.
- New tub installation requires careful preparation including level confirmation (within 1/4 inch over 10 feet), waterproof underlayment application, proper flange securement, and test-filling to catch leaks before surrounding work is completed.
- Maintaining a renovated tub involves using pH-neutral cleaners, soft sponges for refinished surfaces, and regular caulk inspection—since failed caulk lines are the leading cause of water damage in bathroom tub areas.
- Coordinate tub renovation with adjacent projects like vanity swaps and lighting upgrades to maximize efficiency, as walls and plumbing are already exposed during the renovation process.
Why Renovate Your Bathroom Tub?
The bathtub occupies prime real estate in most bathrooms, often the visual anchor and a key selling point if resale is on the horizon. A worn tub signals neglect to potential buyers and chips away at appraised value. But beyond market considerations, daily quality of life suffers when soaking means staring at cracked caulk or battling slippery, stained surfaces.
Safety is another driver. Older tubs lack slip-resistant surfaces, and deteriorating enamel creates rough patches that harbor mold. Families with young children or aging adults often renovate to add grab bars, improve non-slip footing, or lower the entry threshold.
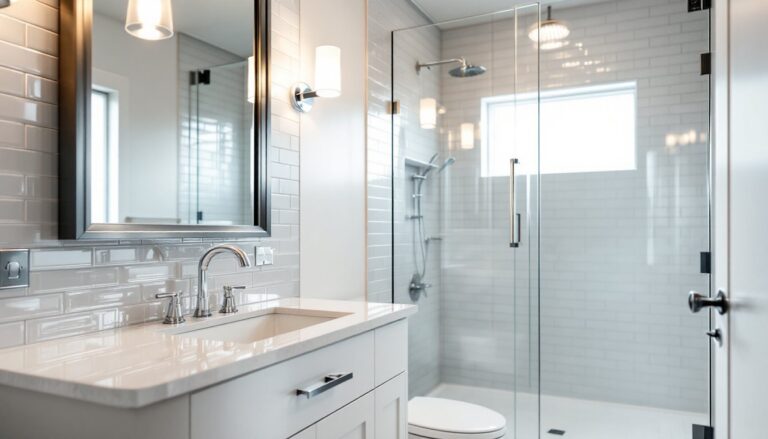
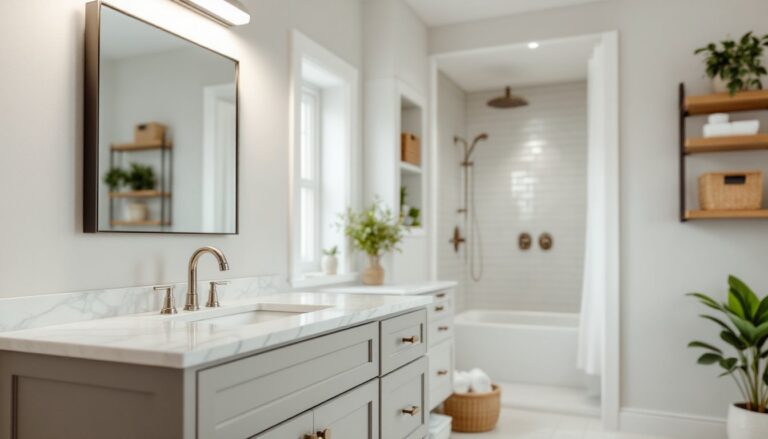
Finally, style evolution matters. Design trends shift, and a tub that looked current in 2010 might now clash with updated tile, fixtures, and vanities. Renovating the tub ties the room together without the expense and disruption of a full gut job. Even cosmetic updates, like switching from almond to white or adding a modern alcove surround, create cohesion that makes the bathroom feel intentional rather than piecemeal.
Types of Tub Renovation Options
Homeowners face three primary paths: refinishing the existing tub, installing a liner over it, or replacing it entirely. Each has trade-offs in cost, longevity, and complexity.
Bathtub Refinishing and Reglazing
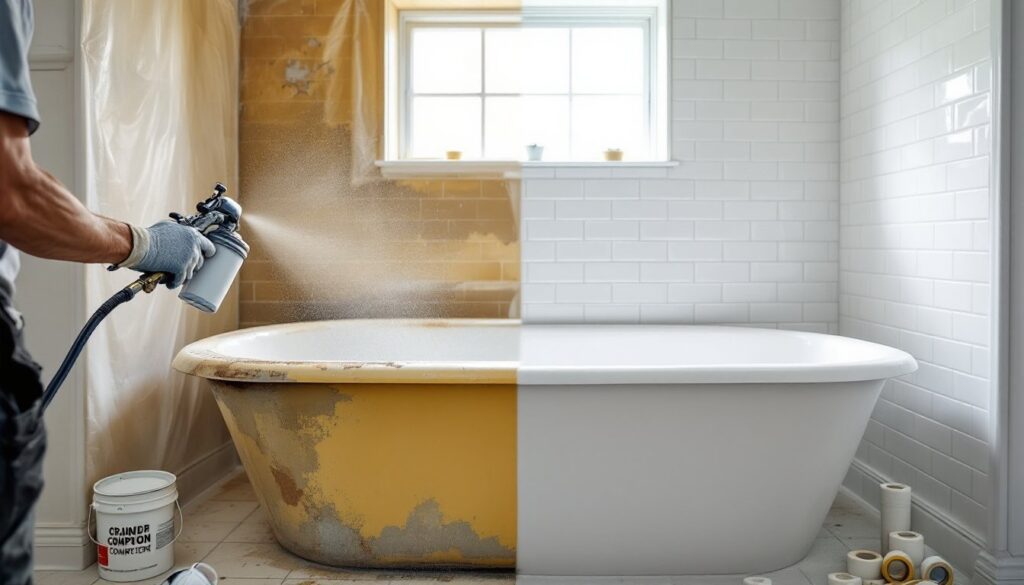
Refinishing, also called reglazing or resurfacing, applies a new coating over the existing tub. A contractor (or skilled DIYer) strips the old finish, repairs chips and cracks with filler, then sprays on an acrylic urethane or epoxy topcoat. The result is a smooth, glossy surface that looks factory-new.
Cost: Typically $300–$600 for professional work, or $50–$150 for DIY kits. Lifespan: 5–10 years with proper care. Pros: Fastest turnaround (often same-day cure), keeps original tub in place (no plumbing rework), and allows color changes. Cons: Surface prep is critical, any grease, soap residue, or moisture will cause peeling. DIY kits require good ventilation due to fumes, and the finish won’t hold up to abrasive cleaners. Best for porcelain, fiberglass, or cast-iron tubs in structurally sound condition. Not ideal for tubs with deep rust or flexing fiberglass floors.
Tub Liner Installation
A tub liner is a custom-molded acrylic or PVC shell that fits over the existing tub. Installers measure, fabricate the liner off-site, then glue it in place. The old tub remains underneath, essentially becoming a substrate.
Cost: $1,500–$3,500 installed. Lifespan: 10–15 years. Pros: No demolition, minimal mess, and installation usually wraps in a day. The liner hides surface damage without stripping or sanding. Cons: Liners reduce tub volume slightly (the new shell sits inside the old one), and seams around drain and overflow can trap water if not sealed correctly. They also lock homeowners into the existing tub footprint, if the goal is a larger soaking tub or alcove-to-freestanding switch, a liner won’t help. Quality varies by fabricator, so vet installers carefully.
Full Tub Replacement
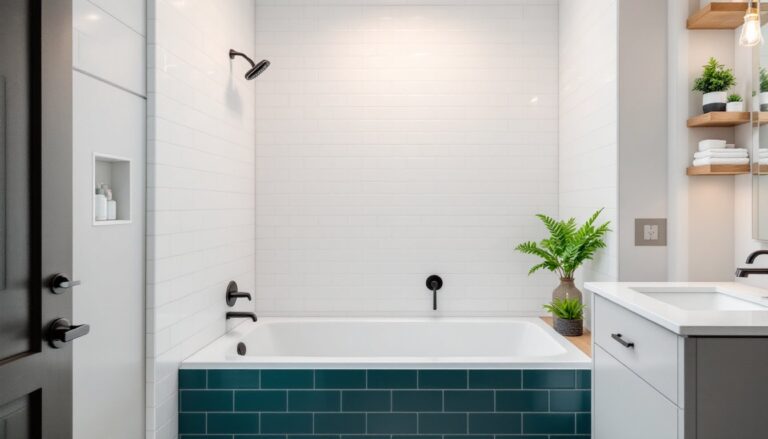
Replacement means pulling the old tub and installing a new one. This is the only option for changing tub size, material, or configuration (e.g., switching from a standard alcove to a corner whirlpool). It’s also necessary when the tub structure itself is compromised, cracked bases, rusted frames, or water damage to surrounding studs.
Cost: $1,200–$5,000+ depending on tub choice and labor. A basic alcove acrylic tub runs $200–$500: a cast-iron clawfoot can hit $2,000 before installation. Lifespan: 20–30+ years for quality materials. Pros: Total design freedom, opportunity to upgrade plumbing (add a Roman tub filler, relocate drain), and address hidden issues like rotted subfloor or mold behind walls. Cons: Most labor-intensive, longest timeline (several days to a week), and highest cost. Access can be tricky, cast-iron tubs weigh 300–500 pounds and often require cutting into pieces for removal. Replacement almost always involves tile or surround work, adding to scope and budget.
Many successful remodel projects start with honest assessments of what the existing tub can support versus what needs a clean-slate approach.
Planning Your Tub Renovation Project
Assess the existing tub and surround. Check for structural issues: flexing floors, soft spots in the subfloor, cracks in the tub base, or water stains on the ceiling below. If any are present, surface fixes won’t last, address framing and waterproofing first. Measure the tub dimensions (length, width, depth) and note drain placement (center, end, left, or right). Alcove tubs are typically 60 inches long by 30–32 inches wide, but older homes may have non-standard sizes.
Determine scope and budget. Refinishing is the budget play for cosmetic upgrades. Replacement makes sense when functionality, size, or layout needs to change, or when plumbing upgrades are overdue. Factor in ancillary costs: new faucets, showerheads, tile or surround panels, underlayment, backer board, and permits if moving plumbing. Most jurisdictions require a plumbing permit for tub replacement or drain relocation. Check local building codes (typically based on International Residential Code or regional amendments).
Choose materials wisely. For replacements, acrylic tubs are affordable, lightweight, and retain heat well but scratch more easily. Cast iron is incredibly durable and holds heat, but heavy and pricey. Fiberglass is the cheapest but least durable, fine for rentals or flip projects, not long-term family homes. Tub surrounds come in tile (most customizable, highest labor), acrylic panels (fast install, fewer seams), or fiberglass (budget-friendly but prone to discoloration).
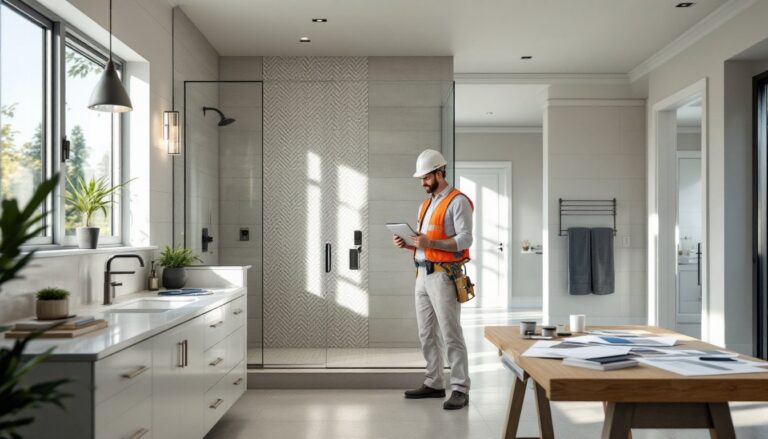
Plan for access and disposal. Full replacements require clear pathways. Measure doorways, hallways, and stairwells. Cast-iron tubs often exit in pieces. Rent a dumpster or arrange bulk pickup for debris. DIYers should budget a full weekend for removal and another for installation, assuming no surprises. Hiring a professional team often saves time and mitigates risk, especially if plumbing or structural work is involved.
Step-by-Step Renovation Process
The sequence varies by renovation type, but core steps apply across methods. Always start with safety gear: respirator or N95 mask (especially for refinishing fumes or demo dust), safety goggles, gloves, and knee pads.
1. Prep the workspace. Turn off water supply to the tub. Remove faucet handles, spout, overflow cover, and drain assembly. Protect surrounding tile, walls, and floors with drop cloths or rosin paper. Tape off areas that shouldn’t be coated or damaged.
2. Remove old fixtures and tub (if replacing). Disconnect the drain and overflow. For alcove tubs, check for a flange nailed to wall studs, pry carefully to avoid damaging studs. Slide the tub forward and out (or break cast iron with a sledgehammer, wearing full PPE). Inspect the subfloor and walls. Replace any rotted plywood, patch framing, and confirm the floor is level within 1/4 inch over 10 feet to prevent tub rocking.
3. Install new underlayment and backer (replacement only). Lay down 1/2-inch cement backer board or water-resistant drywall around the tub alcove. Secure with galvanized screws every 8 inches. Seal seams with waterproof membrane or RedGard. This step is critical, skipping it invites mold and structural rot. Some installers prefer a mortar bed under the tub for full support: others use adjustable feet. Follow manufacturer specs.
4. Set the new tub. Dry-fit first. Check level in both directions and shim as needed under feet or base. Once level, secure the flange to studs with galvanized nails or screws (typically every 12 inches). Connect drain and overflow, using plumber’s putty or silicone per instructions. Test-fill and check for leaks. Let it sit for 30 minutes, catching a slow drip now beats tearing out new tile later.
5. Apply refinishing coating (if refinishing). Strip old caulk, clean thoroughly with TSP or a degreaser, rinse, and let dry completely. Mask off fixtures and walls. Apply bonding agent, then spray acrylic urethane in multiple thin coats. Cure times vary (12–48 hours): ventilate aggressively. For best renovation results, avoid contact until fully cured. Homeowners exploring design inspiration often pair refinishing with updated hardware and lighting.
6. Install surround or tile. For acrylic panels, follow manufacturer instructions, usually adhesive plus a few screws at the flange. For tile, apply thinset to backer board, set tiles with spacers, let cure 24 hours, then grout. Use 100% silicone caulk (not grout) at inside corners and tub-to-wall joints to allow for movement. Unsanded grout works for gaps under 1/8 inch: sanded for wider.
7. Reinstall fixtures and finalize. Attach new faucet trim, spout, showerhead, and drain cover. Caulk the tub perimeter with silicone. Run water and inspect all connections. Wipe down surfaces and remove protective coverings. Allow caulk to cure (usually 24 hours) before heavy use.
8. Maintain the new finish. Refinished tubs need gentle care: avoid abrasive cleaners, use soft sponges, and stick to pH-neutral or acrylic-safe products. New acrylic tubs are more forgiving but still benefit from regular cleaning to prevent soap scum buildup. Cast iron holds up to most cleaners but can scratch, so skip steel wool. Periodically inspect caulk lines and re-seal as needed, failed caulk is the #1 entry point for water damage.
Homeowners planning broader updates often consult curated remodel guides to coordinate finishes across the bathroom. And those tackling essential project phases know that tub work pairs logically with vanity swaps and lighting upgrades, since walls and plumbing are already exposed.