Table of Contents
ToggleKitchener homeowners looking to boost property value and daily comfort are turning their attention to one of the most important rooms in the house. A well-executed bathroom renovation delivers both functionality and style, transforming a tired space into a personal retreat. With updated fixtures, smart layouts, and modern materials, a bathroom remodel can recoup up to 70% of its cost at resale while making mornings more pleasant. This guide walks through everything from budget planning to contractor selection, helping homeowners navigate the renovation process with confidence.
Key Takeaways
- Bathroom renovation in Kitchener can recoup 60-70% of investment costs while improving daily functionality and home value in a competitive housing market.
- Budget planning is essential—basic refreshes start at $8,000, midrange remodels range from $15,000-$30,000, and high-end projects exceed $30,000, plus a 15-20% contingency for unexpected issues.
- Hiring licensed professionals is required for plumbing relocations, electrical work, structural changes, and tile waterproofing, while DIY homeowners can handle demolition, painting, and fixture installation to reduce labor costs.
- A full bathroom renovation timeline typically spans 6-8 weeks in Kitchener, accounting for material lead times, permits (2-3 weeks), and trade coordination, with proper planning preventing costly overruns.
- Popular Kitchener bathroom trends include modern farmhouse styling, spa-inspired designs with curbless showers, minimalist contemporary layouts, and bold tile patterns paired with neutral finishes.
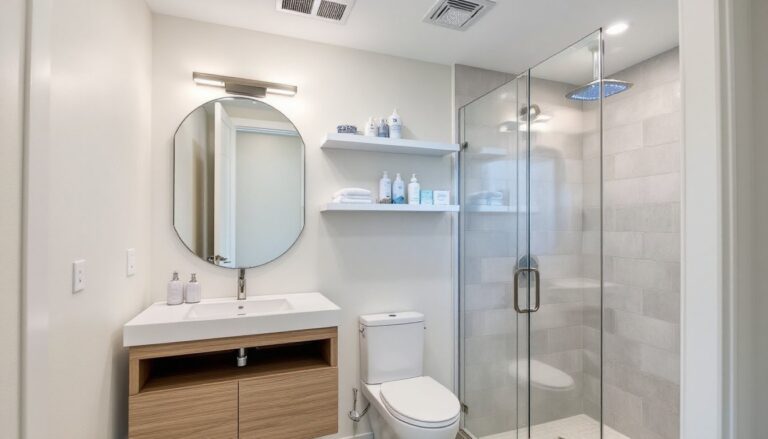
- Smart space optimization using wall-hung fixtures, floating vanities, large-format tiles, and recessed storage transforms small bathrooms—common in older Kitchener homes—into functional, visually spacious retreats.
Why Kitchener Homeowners Are Investing in Bathroom Renovations
Kitchener’s housing market has seen steady growth, with older homes in established neighborhoods offering prime renovation opportunities. Many properties built in the 1970s and 1980s still feature original bathrooms with outdated fixtures, inefficient plumbing, and layouts that don’t match modern lifestyles.
Bathroom renovations address both practical needs and aesthetic desires. Leaking fixtures waste water and money, while poor ventilation leads to mold and structural damage. Replacing a standard 3.5-gallon-per-flush toilet with a WaterSense-certified 1.28-gallon model cuts water usage by more than 60%, translating to real savings on utility bills.
Beyond efficiency, homeowners want spaces that function better. A cramped single-sink vanity doesn’t work for couples getting ready simultaneously. Inadequate storage means countertops cluttered with products. Essential renovation strategies focus on solving these daily frustrations while increasing home value.
The return on investment makes bathroom renovations particularly attractive. According to Remodeling Magazine’s Cost vs. Value Report, midrange bathroom remodels typically recoup 60-70% of their cost, making them one of the smarter home improvement investments in the current market.
Planning Your Bathroom Renovation: Budget and Timeline Considerations
Planning prevents the budget overruns and timeline creep that plague bathroom projects. A realistic schedule for a full bathroom renovation in Kitchener runs 6-8 weeks from demolition to final inspection, assuming no major surprises behind the walls.
Timeline factors include material lead times (custom vanities can take 4-6 weeks), permit processing (typically 2-3 weeks in Kitchener), and trade scheduling. Plumbers and electricians often need to coordinate visits, and tile installers require proper cure time before grouting.
Setting a Realistic Budget for Your Project
Budget tiers help frame expectations:
- Basic refresh ($8,000-$15,000): New fixtures, vanity, toilet, paint, and flooring. Keeps existing layout and plumbing locations.
- Midrange remodel ($15,000-$30,000): Relocates fixtures, adds tile shower surround, upgrades lighting, installs heated floors. May include custom cabinetry.
- High-end renovation ($30,000-$60,000+): Moves walls, adds radiant heat, installs premium tile and stone, incorporates luxury fixtures like soaking tubs or steam showers.
Pricing varies based on material choices. Porcelain tile costs $4-$12 per square foot while natural stone runs $8-$25. A prefab fiberglass shower insert costs $300-$800, but a custom tiled shower with frameless glass doors starts around $3,000.
Always include a 15-20% contingency. Opening walls often reveals outdated wiring that doesn’t meet current NEC standards, plumbing that needs replacement, or subfloor damage from old leaks. These aren’t optional fixes, they’re code requirements or structural necessities.
Permits in Kitchener typically cost $200-$500 depending on scope. Any work involving plumbing relocation, electrical circuits, or structural changes requires permits and inspections. Skipping permits risks failed home inspections during future sales and liability issues if problems arise.
Popular Bathroom Renovation Styles and Trends in Kitchener
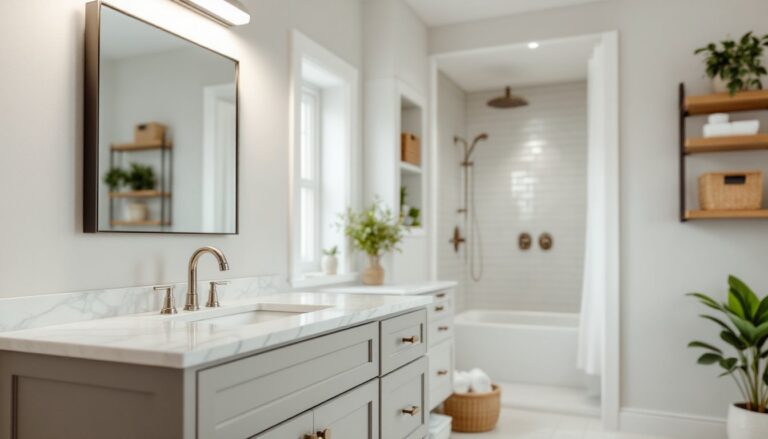
Modern farmhouse leads Kitchener bathroom trends, blending rustic warmth with clean lines. Think shiplap accent walls, matte black fixtures, freestanding tubs, and natural wood vanities. The style works particularly well in older homes, complementing existing character while feeling fresh.
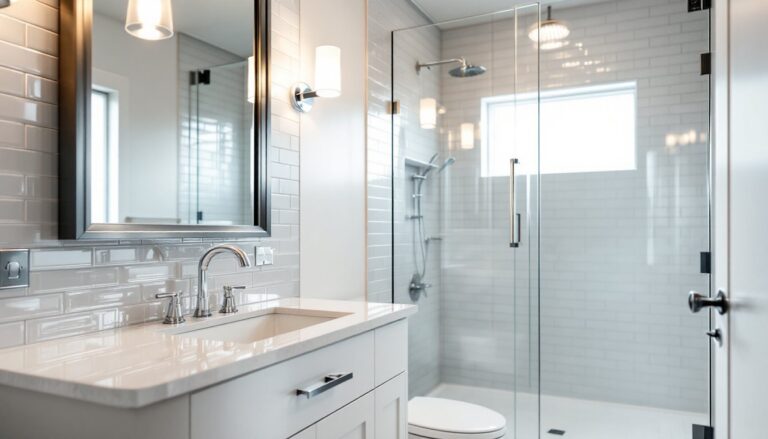
Spa-inspired bathrooms prioritize relaxation through neutral palettes, natural materials, and thoughtful lighting. Large-format porcelain tiles (12″×24″ or bigger) minimize grout lines for easier cleaning. Curbless walk-in showers with linear drains create seamless, accessible spaces. Rainfall showerheads and body sprays add luxury without massive expense.
Minimalist contemporary appeals to homeowners wanting crisp, uncluttered spaces. Floating vanities, wall-mounted toilets, and recessed medicine cabinets maximize floor space visually. Designers on platforms like Houzz showcase monochromatic color schemes with texture from concrete-look tile, brushed nickel fixtures, and backlit mirrors.
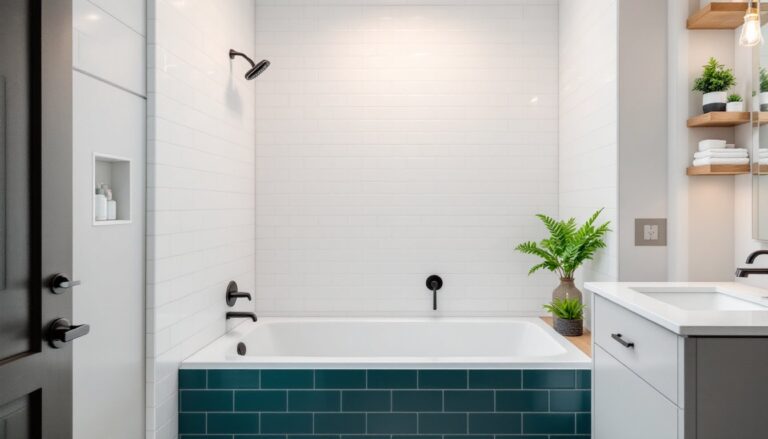
Bold tile patterns have made a comeback. Geometric floor tiles, subway tiles in herringbone patterns, and statement walls using mosaic or encaustic tiles add personality without overwhelming small spaces. The key is balancing pattern with neutral surroundings, a patterned floor pairs best with simple wall tile.
Practical trends include improved ventilation (ENERGY STAR exhaust fans with humidity sensors), LED lighting on dimmers, and heated flooring using electric mat systems. These upgrades cost more upfront but deliver daily comfort and energy efficiency.
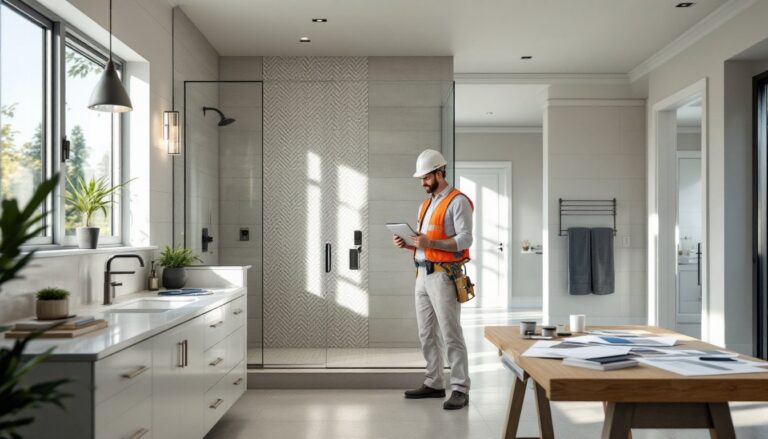
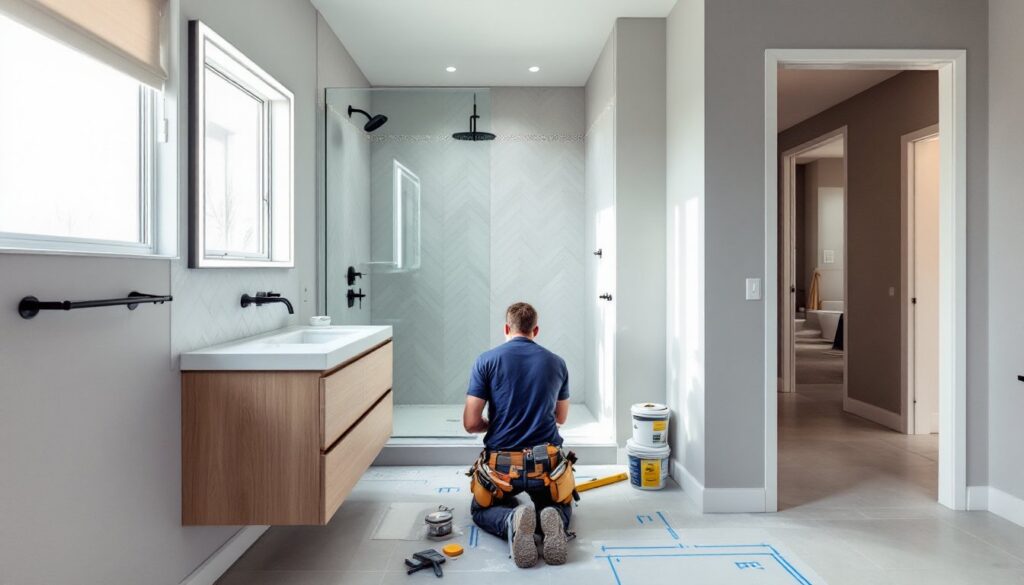
Choosing the Right Contractor vs. DIY Bathroom Renovation
This decision hinges on scope, skills, and timeline. A cosmetic refresh, painting, replacing a vanity, swapping fixtures, suits capable DIYers. Moving plumbing, relocating walls, or upgrading electrical panels requires licensed professionals.
When to hire a contractor:
- Plumbing relocations or modifications (legally requires licensed plumber in Ontario)
- Electrical work beyond simple fixture swaps (licensed electrician required for new circuits)
- Structural changes affecting load-bearing walls or floor joists
- Tile work requiring waterproofing membranes and precise slope for shower pans
- Projects needing permits and inspections
DIY-friendly tasks include demolition (wear proper PPE, dust mask, safety glasses, gloves), painting, installing vanities and toilets, and simple tile backsplashes. These tasks save on labor costs, which typically run 40-50% of total renovation budgets.
Vetting contractors matters. Get three detailed quotes comparing identical scopes, cheap bids often hide change orders later. Check reviews, verify licensing and insurance (WSIB coverage in Ontario), and ask for references from projects completed in the past year. The renovation planning process emphasizes written contracts specifying materials, timelines, payment schedules, and warranty terms.
Hybrid approaches work well. Hire trades for technical work (plumbing, electrical, tile) while handling demolition, painting, and finish work yourself. This balances cost savings with quality results and code compliance.
Be realistic about DIY timelines. Professionals complete tasks faster because they work full-time with proper tools. A contractor might tile a shower in two days: a DIYer working evenings and weekends might need three weeks.
Essential Steps in the Bathroom Renovation Process
1. Design and planning (1-2 weeks)
Measure carefully, twice. Sketch layouts accounting for door swings, toilet clearances (15″ minimum from centerline to walls or fixtures), and vanity depths. Standard vanities are 21″ deep but 24″ models offer more counter space without overwhelming most bathrooms.
2. Obtain permits (2-3 weeks)
Submit plans to Kitchener’s building department. Inspections typically occur after rough plumbing, rough electrical, and before final closing of walls.
3. Demolition (1-3 days)
Shut off water at the main. Remove fixtures carefully, toilets, vanities, and tubs can be donated if undamaged. Protect floors in hallways with rosin paper or hardboard. Bag and contain debris to minimize dust spread. Wear proper PPE including N95 mask if dealing with materials from pre-1980s homes (potential asbestos in tile mastic or insulation).
4. Rough plumbing and electrical (3-5 days)
Plumbers relocate supply lines and drains. Electricians run new circuits for GFCI outlets (required within 6 feet of water sources per NEC), ventilation fans, and lighting. This stage requires inspection before proceeding.
5. Framing and drywall (3-5 days)
Build any new walls using 2×4 studs, 16″ on center. Install blocking between studs for grab bars or wall-mounted vanities. Hang moisture-resistant drywall (greenboard or purple board) in wet areas, though cement board is superior behind tile.
6. Waterproofing and tile (5-10 days)
Apply waterproofing membrane (RedGard, Kerdi, or similar) on shower walls and floors. Set tile using proper thinset mortar, modified for walls, unmodified over Kerdi. Allow proper cure time before grouting. Use epoxy grout in showers for superior water resistance and stain prevention.
7. Install fixtures and finishes (3-5 days)
Set the toilet with new wax ring, install vanity and plumbing connections, hang shower door, connect lighting. Caulk joints with silicone caulk (not latex) where tile meets tub or fixtures.
8. Final inspection and touch-ups (1-2 days)
Schedule final inspection. Address any deficiencies, clean thoroughly, and test all fixtures under load.
Following proven renovation techniques keeps projects on track and prevents costly mistakes that require backtracking.
Maximizing Space and Functionality in Your Kitchener Bathroom
Small bathrooms dominate Kitchener’s older housing stock, but smart design makes them work harder.
Reconfigure layouts: Swapping a swing door for a pocket door or barn door recovers square footage. Corner sinks and toilets tuck into tight spots. Wall-hung toilets and floating vanities create visual and actual floor space, making rooms feel larger.
Optimize vertical storage: Recessed medicine cabinets sit flush with walls instead of protruding. Tall, narrow cabinets use vertical space better than wide, shallow ones. Open shelving above toilets holds towels and supplies without expensive cabinetry.
Choose appropriately scaled fixtures: A 48″ vanity suits most bathrooms better than cramming in a 60″ unit. Pedestal sinks maximize floor space in powder rooms. Compact elongated toilets offer comfort without the footprint of round-front models.
Improve lighting: Layer ambient, task, and accent lighting. Recessed LED cans (4″ diameter) provide general illumination. Sconces flanking mirrors eliminate shadows for grooming. Under-cabinet LED strips add task lighting without eating space.
Select smart finishes: Large-format tiles (12″×24″ or bigger) have fewer grout lines, making small spaces feel larger and simplifying cleaning. Light colors and glossy finishes reflect light. Frameless glass shower enclosures disappear visually compared to framed or curtain options.
Install niche storage: Recessed shower niches built during framing eliminate clutter from tub edges. Build them between studs (14.5″ wide with standard framing) at comfortable height for shampoo and soap access.
Design galleries on Remodelista showcase creative small-bathroom solutions, from fold-down shower seats to combo washer-dryer units tucked into vanity sections. Implementing effective space-planning tips transforms cramped bathrooms into functional, attractive spaces that feel significantly larger than their footprint suggests.