Table of Contents
ToggleQueens homeowners know that bathrooms take a beating. Between morning routines, humid summers, and decades-old plumbing, even well-maintained bathrooms show wear. A renovation isn’t just cosmetic, it’s an investment that boosts home value, improves daily function, and can solve persistent moisture or layout problems. Whether dealing with a cramped pre-war bathroom in Forest Hills or updating a 1980s builder-grade fixture set in Bayside, Queens presents unique challenges and opportunities for bathroom upgrades.
Key Takeaways
- Bathroom renovation in Queens returns 60–70% of costs at resale while solving moisture, layout, and functionality issues common in homes built before 1960.
- Budget $8,000–$15,000 for cosmetic updates, $18,000–$35,000 for mid-range remodels, or $40,000+ for high-end work, and set aside 15–20% contingency for hidden issues in older homes.
- NYC permits are required for moving plumbing, electrical work, or structural changes; budget $500–$1,500 and verify compliance with GFCI outlets, 50 CFM exhaust ventilation, and grab bar safety standards.
- Maximize small Queens bathrooms (5×7 feet or smaller) with corner showers, wall-hung toilets, large mirrors, and recessed niches without costly expansion.
- Hire licensed contractors for plumbing, electrical, tile, and waterproofing; handle demo and painting yourself to cut labor costs while avoiding code violations and water damage.
- Invest in quality waterproofing (cement board, liquid membranes), epoxy grout, and proper ventilation to ensure your bathroom renovation lasts 15–20 years in Queens’ humid climate.
Why Queens Homeowners Are Investing in Bathroom Renovations
Property values in Queens have climbed steadily, making strategic renovations a smart move. A well-executed bathroom remodel typically returns 60-70% of its cost at resale, according to recent market data. But the real driver is lifestyle improvement.
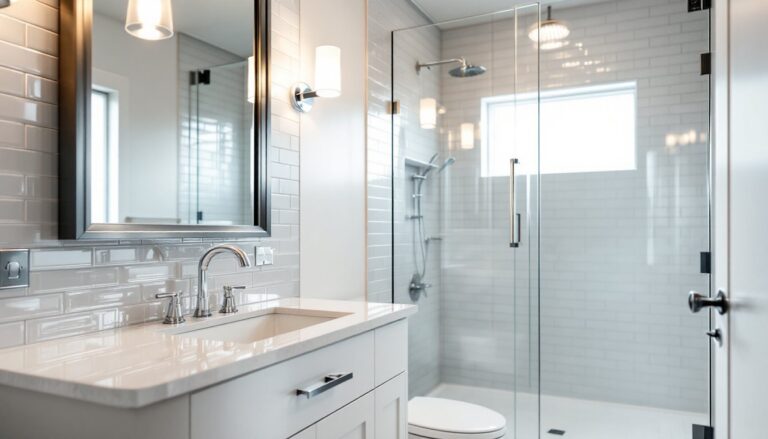
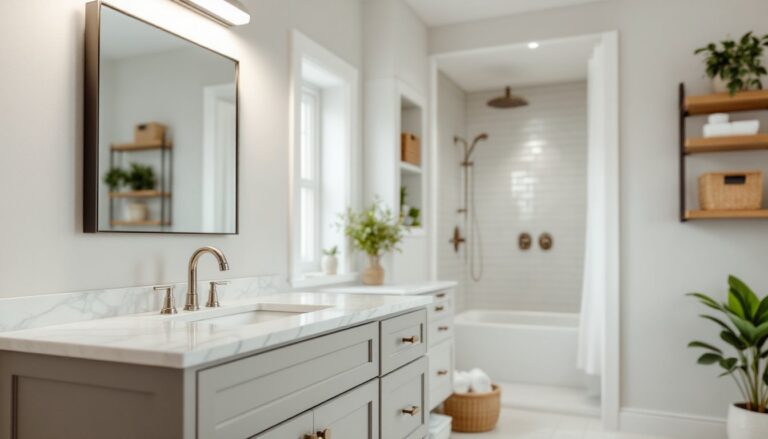
Many Queens homes were built between the 1920s and 1960s, when bathrooms were compact and purely functional. Homeowners today want double vanities, walk-in showers, and storage, features that weren’t priorities decades ago. Outdated cast iron tubs, pink tile, and single-pane windows are common pain points.
Moisture issues matter here, too. Queens’ proximity to water and humid summers mean poor ventilation or old grout can lead to mold. Upgrading to proper exhaust fans (rated for at least 50 CFM) and moisture-resistant materials like cement board and epoxy grout solves long-term headaches. Applying proven renovation strategies helps homeowners tackle these issues methodically.
Planning Your Queens Bathroom Renovation: Budget and Timeline
Start with a clear scope. Are you replacing fixtures and finishes, or moving walls and plumbing? The difference matters.
Setting a Realistic Budget for Your Project
Queens bathroom renovations vary widely in cost:
- Cosmetic refresh (fixtures, tile, vanity): $8,000–$15,000
- Mid-range remodel (layout changes, new tub/shower, updated electrical): $18,000–$35,000
- High-end renovation (custom tile, luxury fixtures, structural work): $40,000+
These figures assume typical 5×8-foot bathrooms and reflect 2026 Queens labor and material costs. Prices shift based on tile choice (porcelain vs. marble), fixture brands (Kohler vs. Grohe), and contractor availability.
Labor typically accounts for 40-50% of total costs in NYC. Licensed plumbers and electricians charge $100–$150/hour in Queens: general contractors often work on a project basis. Get at least three written estimates and verify licenses.
Budget for the unexpected. Old homes hide issues, corroded galvanized pipes, subfloor rot, outdated wiring. Set aside 15-20% contingency for surprises.
Timelines depend on scope:
- Cosmetic updates: 2-3 weeks
- Full remodel with plumbing/electrical: 4-8 weeks
- Gut renovation with permits: 8-12 weeks
Material lead times matter. Custom vanities, imported tile, and specialty fixtures can add weeks. Order early.
Navigating NYC Permits and Regulations
New York City’s Department of Buildings (DOB) requires permits for most bathroom work beyond cosmetic updates. Don’t skip this, unpermitted work complicates future sales and insurance claims.
Work requiring permits:
- Moving or adding plumbing fixtures
- Electrical work (new circuits, relocating outlets)
- Structural changes (removing walls, altering floor joists)
- Installing or moving gas lines (rare in bathrooms, but applies to certain ventless dryers)
Work that typically doesn’t require permits:
- Replacing existing fixtures in the same location
- Painting, tiling over existing surfaces
- Swapping vanities without plumbing changes
Permit costs vary, but budget $500-$1,500 for typical bathroom work, plus filing time. Licensed contractors usually handle filing: if doing DIY work requiring permits, you’ll file as an owner.
Queens falls under NYC Building Code, which references the International Residential Code (IRC) with local amendments. Key points:
- Bathrooms require GFCI protection on all outlets (NEC 210.8)
- Minimum exhaust ventilation of 50 CFM or operable window
- Grab bars near tubs/showers should support 250 lbs when installed (IRC R307.1)
Co-ops and condos often have additional rules. Check your building’s alteration agreement before starting work. Some buildings restrict work hours, require insurance certificates, or mandate specific contractors.
Top Bathroom Renovation Trends in Queens for 2026
Queens homeowners are balancing modern aesthetics with practical durability. Here’s what’s trending:
Curbless showers with linear drains offer accessibility and clean lines. They require careful waterproofing, use a sloped mortar bed (1/4-inch per foot pitch) and redundant waterproofing like Schluter Kerdi or RedGard.
Large-format tiles (12×24-inch or bigger) reduce grout lines and create a spacious feel. Rectified edges make tight grout lines possible. For walls, porcelain in marble or terrazzo looks delivers luxury without the maintenance headaches of natural stone.
Floating vanities save floor space visually and simplify cleaning. Mount them to wall studs with appropriate blocking (2×6 or 2×8 backing) to handle sink and countertop weight, typically 100+ lbs loaded.
Matte black fixtures remain popular but show water spots. Oil-rubbed bronze or brushed nickel offer similar style with easier maintenance.
Heated floors make sense in Queens’ cold winters. Electric radiant mats (like Schluter Ditra-Heat) install under tile easily. Budget $10-$15 per square foot for materials and thermostat.
For those tackling updates independently, essential renovation tips can prevent common missteps. Smart storage matters in older homes, recessed niches, medicine cabinets, and pull-out organizers maximize tight spaces without eating floor area.
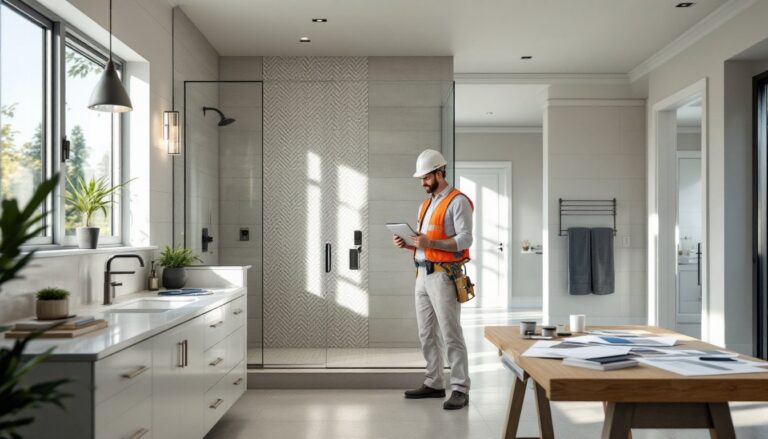
Choosing the Right Contractor vs. DIY Approach
Be honest about skills and time. Bathroom renovations involve plumbing, electrical, tile, and finish carpentry, missteps get expensive fast.
Hire a licensed contractor when:
- Moving plumbing or electrical (permits required)
- Working with tile or waterproofing (mistakes cause water damage)
- Short on time or tools
- Dealing with structural issues
Queens has many qualified contractors. Platforms like HomeAdvisor help match homeowners with local pros and estimate project costs. Check licenses through NYC DOB’s website, verify insurance, and ask for references from recent Queens projects.
Red flags: Cash-only deals, no written contract, pressure to skip permits, or unwillingness to provide references.
DIY-friendly tasks:
- Demo (wear respirator, safety glasses, gloves, old tile and plaster create hazardous dust)
- Painting
- Installing vanities (if plumbing connections exist)
- Simple tile work (backsplashes, small areas)
For complex projects, a hybrid approach works well, hire licensed trades for plumbing/electrical rough-in and final connections, handle demo and painting yourself. This cuts labor costs without risking code violations.
If hiring help, platforms like Angi provide contractor reviews and pricing guidance for Queens-area projects. Always get three written bids breaking out materials and labor.
Maximizing Space in Small Queens Bathrooms
Pre-war Queens bathrooms often measure 5×7 feet or smaller. Smart design makes them functional without costly expansion.
Layout tweaks:
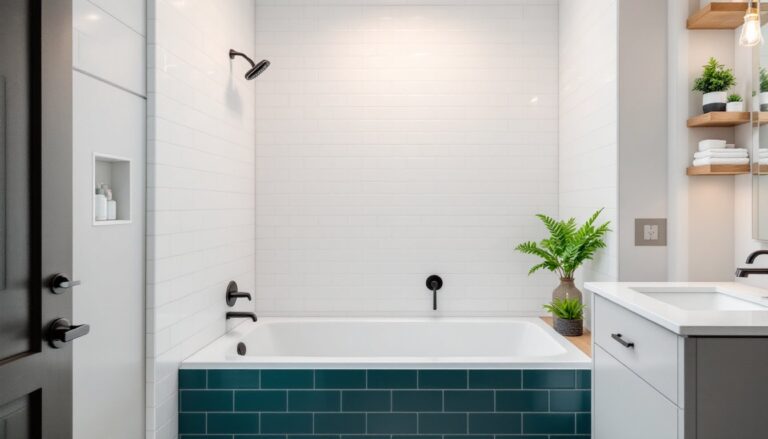
- Replace a tub with a corner shower to free 6-8 square feet
- Swap a 24-inch vanity for a wall-hung or pedestal sink in powder rooms
- Relocate the door swing (outward instead of inward) or install a pocket door
Fixture choices:
- Compact toilets (elongated bowls measure 28-30 inches vs. 31-33 for standard: round bowls save another 2 inches)
- Wall-hung toilets hide the tank in the wall, saving 6-8 inches of floor depth (requires in-wall carrier like Geberit)
- Shallow vanities (16-18 inches deep vs. standard 21 inches)
Visual tricks:
- Large mirrors (full wall or at least 36 inches wide)
- Light colors, white subway tile, pale grays, soft blues
- Glass shower doors instead of curtains
- Vertical storage (tall cabinets, open shelving above toilet)
Lighting matters. Small bathrooms need layered lighting: overhead (ceiling or recessed cans), vanity sconces (mounted 60-66 inches off the floor flanking the mirror), and task lighting. Use LED bulbs (3000-4000K) for accurate color without heat buildup.
Thinking through practical planning steps helps avoid layout mistakes that can’t be undone after tile goes down. Don’t forget ventilation, a quality exhaust fan (Panasonic WhisperCeiling or similar) prevents moisture damage.
Waterproofing is non-negotiable. Use cement board (not drywall) around showers and tubs. Apply liquid or sheet waterproofing membrane (RedGard, Schluter Kerdi, AquaDefense) per manufacturer specs, typically two coats, overlapping seams, and corners reinforced with fabric. Following top renovation tips ensures these critical steps aren’t overlooked.
Small bathrooms benefit from built-in storage, recessed shelving between studs (16 inches on center gives 14.5 inches of usable width) adds function without sacrificing floor space. Queens bathroom projects featured on Houzz showcase how local contractors maximize tight layouts.
Consider a shower niche during tile work, 12×24 inches set horizontally at chest height stores bottles without floor clutter. Frame it with 2x4s between studs during rough-in, waterproof thoroughly, and tile to match the walls. Applying renovation ideas from similar successful projects can inspire creative solutions for challenging spaces.
Finally, don’t cheap out on materials where it counts. Quality grout (epoxy or urethane-based like Bostik Dimension or Mapei Kerapoxy) resists stains and moisture far better than standard cement grout, especially in high-use Queens family bathrooms. A bathroom done right, with proper prep, good materials, and attention to moisture control, will perform well for 15-20 years before needing another refresh.