Table of Contents
ToggleA small bathroom doesn’t mean settling for cramped, dingy, or dysfunctional. Whether you’re tackling a small bath renovation for the first time or planning a small bath redo in an older home, the real work isn’t ripping out fixtures, it’s making smart choices about layout, storage, and finishes. This guide walks you through renovating small bathrooms with practical strategies that maximize every square inch while staying on budget. You’ll learn where to splurge, where to save, and which projects you can tackle yourself versus when to call a pro. Let’s transform that tight space into something you actually want to use.
Key Takeaways
- Bathroom renovations for small bathrooms succeed by maximizing vertical storage with recessed medicine cabinets, floating shelves, and wall-mounted vanities that preserve floor space and reduce visual clutter.
- Smart fixture sizing—such as compact 42-inch vanities, 36-by-48-inch shower stalls, and dual-flush toilets—combined with strategic mirror placement and layered lighting (ambient, task, and accent) makes tight spaces feel open and functional.
- Paint, hardware swaps, new caulk, and glossy tile finishes are budget-friendly upgrades under $300 that deliver outsized visual impact without requiring expensive plumbing or electrical changes.
- DIY projects like painting, shelving, and hardware installation are manageable, but plumbing relocation, electrical work, and tile installation typically require licensed professionals and permits to avoid costly mistakes.
- Proper ventilation, regular maintenance (recaulking every 2–3 years, squeegee use, and annual hardware inspections), and light color choices prevent moisture damage and extend the life of your bathroom renovation investment.
Maximize Storage Without Sacrificing Style
Storage is the friction point in every small bathroom. A cramped vanity, towel pile, and nowhere for cleaning supplies means clutter wins. Start by measuring your wall space, literally pull out a tape measure. A recessed medicine cabinet carved into the wall between studs saves 4–6 inches of depth versus a surface-mount model, and it’s a straightforward DIY job if you’re comfortable with drywall patching.
Vertical storage beats horizontal every time. Install open shelving above the toilet or beside the vanity. Aim for shelves 8–12 inches deep (standard for a roll of toilet paper and a stack of towels). Floating shelves require wall anchors into studs, don’t skip this step. Use a stud finder, then mount with heavy-duty brackets rated for the load you’re planning. For renters or those avoiding wall damage, over-the-toilet shelving units and corner caddies work without drilling.
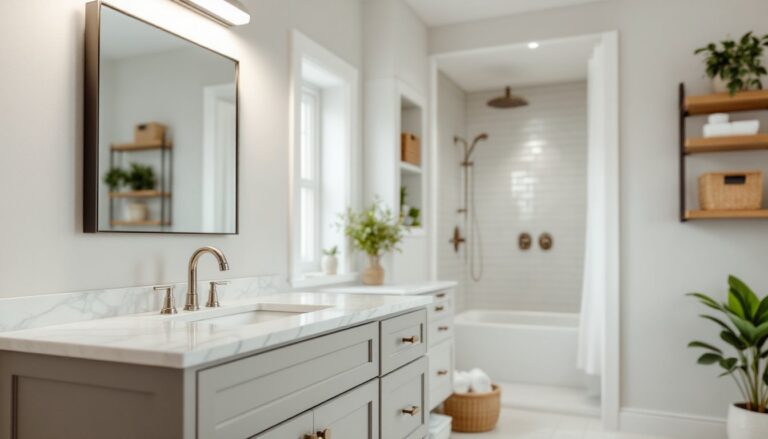
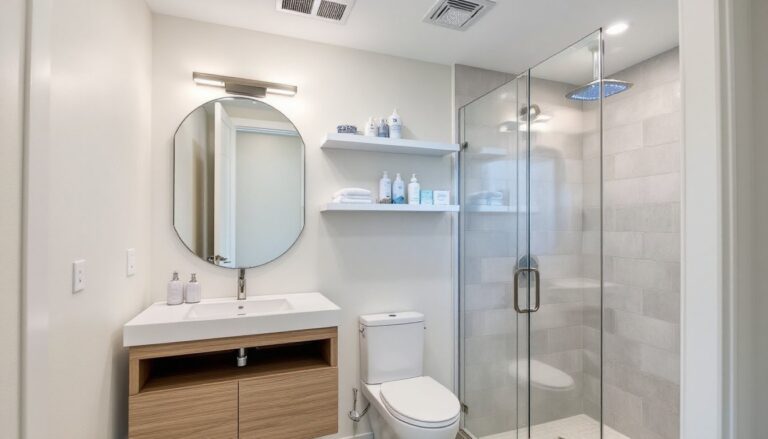
Vanity choice matters more than most realize. A wall-mounted vanity leaves floor space visible, making the room feel larger than a pedestal sink. Modern wall-mount vanities come in compact widths (24–30 inches) and offer decent storage. Avoid oversized designs that eat the floor footprint. If you’re doing a small bathroom redo, consider a corner vanity, it tucks awkwardly into dead space and claims vertical real estate for mirror or shelving above.
Smart Layout and Fixture Choices for Tight Bathrooms
Layout dictates whether a small bath redo feels open or suffocating. Before you move anything, sketch the space on paper with accurate measurements. Standard toilet rough-in is 12 inches from the wall: moving that requires breaking concrete (if on a slab) or rerouting pipes under floor joists, permit territory and professional work. Most small bathroom renovations succeed by working with existing plumbing rather than fighting it.
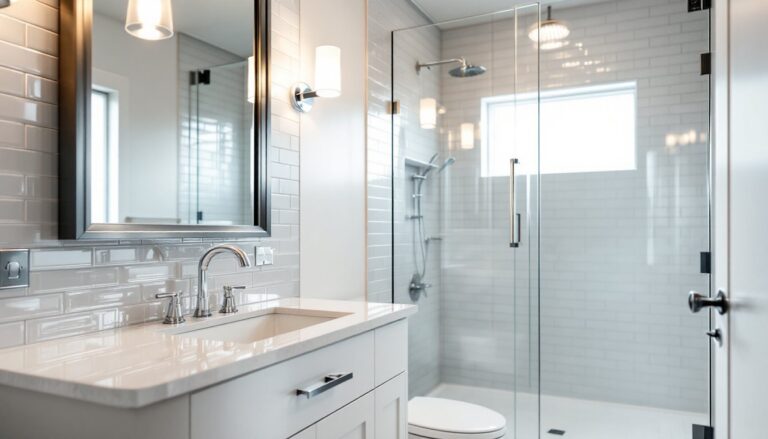
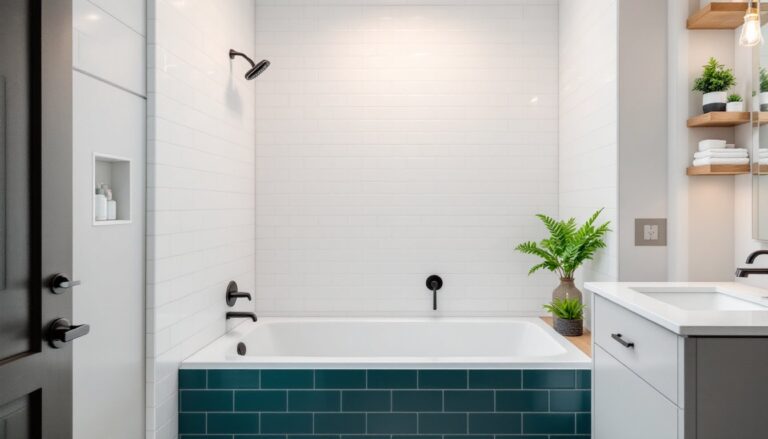
Fixture sizing is where DIYers save space without compromising function. A 42-inch vanity works in a 5-by-7-foot bathroom: a 60-inch vanity doesn’t. Pedestal sinks are space-savers but sacrifice storage, the trade-off is real. Corner sinks exist but waste corner space and look cramped. Compact toilets with rounded tanks (versus elongated bowls) gain 4–6 inches: dual-flush models save water long-term. For the shower, a 36-by-36-inch stall is tight: 36-by-48-inches is livable. Walk-in showers without a tub work if you’re willing to sacrifice soaking.
Wall-hung toilets and vanities create visual breathing room by exposing floor, but they require in-wall tank installation and are pricier. A simpler win: hang the vanity mirror high and wide. A mirror stretching edge-to-edge reflects light and visually expands the space. Pair it with sconces on either side rather than a center overhead fixture, you’ll get better light and a modern feel. When you’re ready to hire professionals, knowing the right contractor for bathroom renovation makes the difference between a finished project and a nightmare.
Make Light and Color Work Harder in Small Spaces
Color psychology isn’t fluff, light colors literally make rooms feel bigger. Soft whites, pale grays, and warm creams on walls reflect light and open the space. Avoid dark charcoal or deep navy on all four walls: they shrink perception. If you want color, use one accent wall, keep it light, or reserve deep tones for small pops (a single shelf, towel bar, or trim detail).
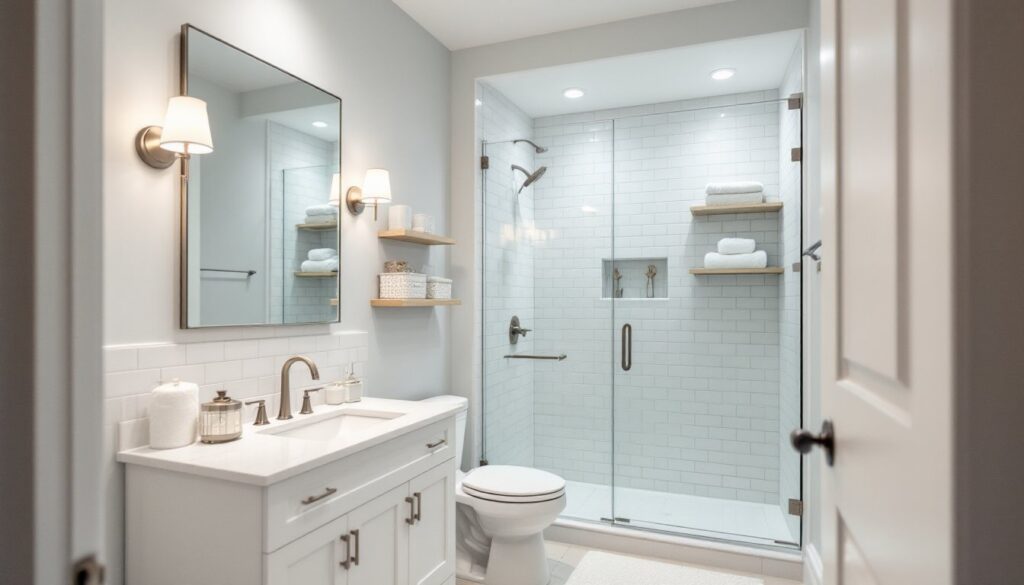
Lighting is non-negotiable. A single overhead bulb creates shadows and makes the space feel cave-like. Layer your light: ambient (recessed or semi-flush ceiling fixture), task (sconces flanking the mirror), and accent (a small uplighter or window if available). LED bulbs save energy and last longer: a 4000K color temperature (cool white) mimics daylight and works well in bathrooms. Windows are gold. If you have one, don’t obscure it with dark towels or thick curtains. A frosted or solar shade maintains privacy while letting light through.
Tiles reflect light differently based on finish. Glossy subway tiles bounce light around: matte finishes absorb it. In a small space, glossy or semi-gloss finishes on walls and lighter grout colors keep things bright. Large-format tiles (12-by-24 or larger) have fewer grout lines, which reads as less visual clutter than small mosaic. Keep the shower surround light: if you love dark tiles, use them sparingly, say, a 3-inch stripe at eye level, then white above and below.
Budget-Friendly Upgrades That Make the Biggest Impact
You don’t need a $15,000 gut renovation to transform a small space. Paint is the cheapest upgrade with outsized payoff. Two coats of quality bathroom paint (moisture-resistant, satin or semi-gloss finish) runs $40–80 per gallon and covers about 350 square feet per gallon. Freshly painted walls cost under $300 in materials and transform perception in a weekend.
New hardware costs almost nothing but catches the eye. Swap towel bars, toilet paper holders, and cabinet pulls ($2–10 each) for brushed nickel or matte black finishes that coordinate with fixtures. A new faucet ($80–300 depending on style) updates the vanity without moving plumbing. Look for single-hole designs that require one hole rather than three, easier to install and a cleaner aesthetic.
Grout and caulk color shift the vibe. Bright white grout on white tile reads clinical: use warm white or light gray for a softer feel. Silicone caulk sealing the tub-to-wall joint should match your grout or be clear. Old, yellowed caulk ages a bathroom fast. Removing it (utility knife, patience) and re-caulking takes two hours and costs $5 in materials. Resurfacing or replacing old tile is expensive: refreshing the grout and caulk looks new for almost nothing. For deeper budget details, bathroom renovation costs in 2026 breaks down what projects cost and where to allocate dollars wisely.
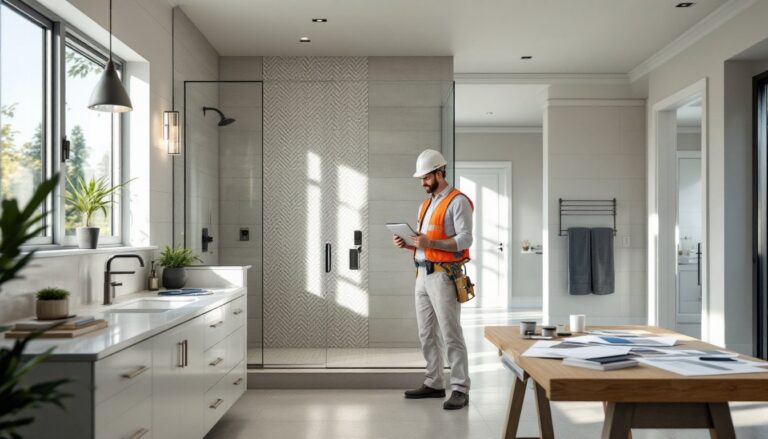
DIY vs. Professional Help: What You Should Tackle Yourself
Painting, caulking, hardware swaps, and shelving installation are solid DIY territory. You need basic tools (paintbrush, utility knife, drill, level) and patience. Tile removal and replacement require more skill, grouting especially. If you’ve never tiled before, a small accent wall is a forgiving training project: the entire shower surround? That’s worth hiring out unless you’re confident.
Plumbing and electrical work depend on your local codes and permit requirements. Replacing a vanity faucet (turning off the water, unbolting the old one, bolting the new one) is a reasonable DIY task. Installing new drain lines or moving a toilet is licensed work in most jurisdictions. Electrical work, adding a new outlet or fixture, typically requires a permit and inspection. Cutting into walls risks hitting studs, pipes, and wiring. When in doubt, hire someone licensed to pull permits. The inspection fee is cheap insurance against a dangerous mistake.
Demolition looks fun but hides risks. Older bathrooms may have asbestos in floor tile, mastic, or insulation. Professional abatement costs money, but DIY exposure costs your health. Have materials tested before swinging a hammer. A small bathroom redo often means working in tight quarters where mistakes compound, a water leak behind a wall is expensive to fix after drywall closes. Be honest about your skill and patience. A three-day DIY paint job beats hiring someone: a six-month tile learning curve while water sits behind the wall doesn’t.
Final Touches and Maintenance Tips for Long-Lasting Results
Once the bones are done, finish details matter. Towel hooks should anchor into studs: use toggle bolts if studs aren’t available. A bathroom scale or small stool tucked beside the vanity uses dead space. A corner mirror leans against the wall without installation. Floating shelves over the toilet hold baskets for organized clutter. These touches don’t require renovation: they just make the space function better.
Ventilation prevents moisture damage and mold. A bathroom should have an exhaust fan vented to the outside (not into the attic). Run it during and for 30 minutes after showers. In a small space, moisture clings to everything, grout, caulk, paint, drywall. Mold thrives in high humidity and causes health and structural issues. A squeegee hanging by the shower removes water from tile and glass: it costs $5 and saves thousands in water damage over years.
Long-term maintenance keeps your renovation looking fresh. Recaulk the tub joint every 2–3 years or when it cracks. Check grout for mold or crumbling: clean with a dilute bleach solution (one part bleach to ten parts water) or replace if severely damaged. Inspect wall cabinets and shelving bolts annually, vibration from exhaust fans and shower pressure can loosen them. Refinish or replace caulk before it fails: prevention is cheaper than repairs. Resources like Remodelista’s tiny bathroom ideas offer ongoing inspiration and planning strategies for keeping small spaces functional and beautiful long-term.
Conclusion
Renovating a small bathroom is about working with your space, not against it. Smart storage, thoughtful layout, strategic light and color, and budget-conscious upgrades turn tight quarters into functional, attractive rooms. Know what you can DIY and where to hire help. Plan ahead, measure twice, and don’t skip prep work, that’s where most failures happen. Your small bathroom doesn’t need to feel small anymore.