Table of Contents
ToggleSmall bathrooms don’t need to stay cramped, outdated, or functionally frustrating. A thoughtful small bathroom renovation, whether it’s a cosmetic redo, a partial remodel, or a full remodels for small bathrooms, can turn a tight space into something genuinely pleasant to use every day. The good news? You don’t need a massive budget or months of construction chaos. With smart planning, strategic updates, and an honest assessment of what you can tackle yourself versus when to hire help, homeowners and DIY enthusiasts can achieve surprising transformations. This guide walks through the practical steps, real constraints, and cost-effective solutions that make small bathroom renovations work.
Key Takeaways
- Small bathroom renovations don’t require a massive budget—strategic updates like fresh paint, new lighting, and updated fixtures can transform the space for under $500 in many cases.
- Prioritize actual needs (water damage, mold, structural issues) before cosmetic wants; separate the two during planning to avoid wasting money on aesthetics when safety issues exist.
- Maximize vertical storage with wall-mounted shelving, recessed medicine cabinets, and corner shelves to reclaim floor space without costly layout changes.
- Swap builder-grade mirrors for framed or beveled options and install dimmable LED sconces—this combo under $300 completely transforms how the bathroom feels and functions.
- Know when to DIY (painting, hardware replacement, caulking) and when to hire professionals (plumbing changes, electrical work, structural modifications) to avoid costly mistakes and ensure code compliance.
- Layer your lighting with ambient, task, and accent options using LED bulbs, and use light neutral colors plus strategic mirrors to make the space feel larger and less cramped.
Planning Your Small Bathroom Renovation
Before touching a single tile, measure your space and identify what needs fixing versus what just needs refreshing. Start with a simple floor plan: grab a tape measure, note the dimensions of your bathroom (length, width, ceiling height), and mark the location of the toilet, sink, shower/tub, and any windows or doors. This baseline matters because small bathrooms have zero margin for error, moving a toilet or sink by even a few inches can affect plumbing and electrical work, possibly requiring permits.
Next, list what’s driving the renovation. Are you dealing with outdated fixtures, poor lighting, mold or water damage, inadequate storage, or simply a dated look? Separating cosmetic wants from actual needs helps prioritize spending. Water damage or structural issues (rotting subfloor, compromised wall framing) need fixing first and may require a professional: cosmetic updates can wait or be phased in. For a small bathroom redo focused on aesthetics alone, you might get away with paint, new hardware, a swapped-out mirror, and updated lighting. For a full small bathroom reno addressing layout or plumbing, expect more complexity and cost. Review local building codes or check with your municipality about what requires a permit in your area, bathroom electrical work, plumbing changes, and structural modifications usually do.
Budget-Friendly Updates That Make a Big Impact
The most cost-effective improvements often deliver the biggest visual payoff. A fresh coat of high-quality paint (Benjamin Moore, Sherwin-Williams, or Behr bathroom-grade formulas resist moisture better than standard interior paint) instantly refreshes the space and costs under $200 in materials. Pair it with new hardware on cabinets, brushed nickel or matte black knobs and pulls run $2–8 each and feel surprisingly upscale.
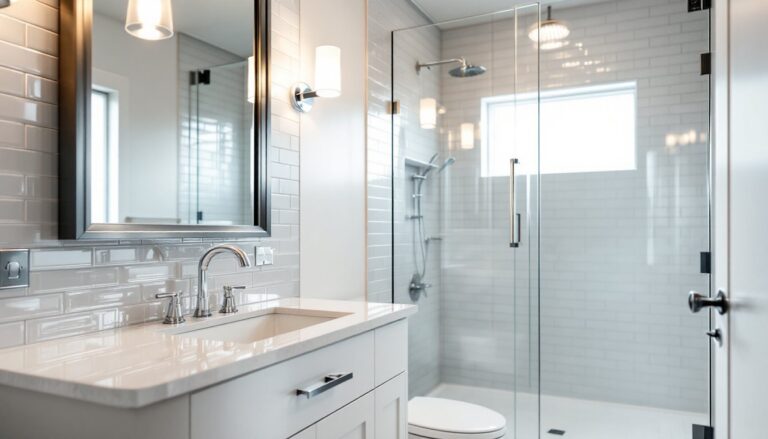
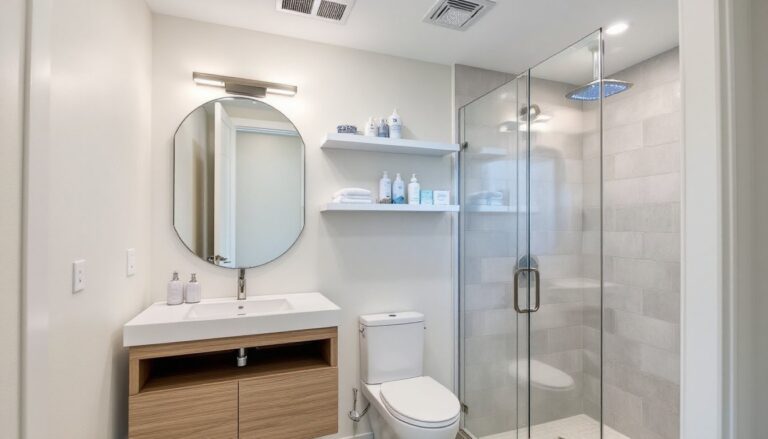
Swapping the mirror and lighting combination punches above its weight. Replace a builder-grade mirror with something with a frame or beveled edge, and add dimmable LED sconces flanking it (or a simple LED-compatible fixture above). This combo usually stays under $150–300 and completely changes how the bathroom feels, especially at night. Better lighting makes a small space feel less cramped and makes grooming easier.
For flooring on a budget, consider peel-and-stick vinyl tiles or luxury vinyl plank (LVP). These skip messy demolition, adhere directly to existing floor (if it’s level and clean), and cost far less than real tile or stone. They’re also water-resistant and DIY-friendly if your prep work is solid. A fresh caulk line around the tub or shower (remove old caulk completely, clean with mildew remover, apply 100%-silicone caulk) costs $15 and looks intentional. Finally, don’t underestimate textiles and organization: new towel bars, shelving, a simple medicine cabinet, and storage baskets make the space feel more intentional and functional without structural changes.
Maximize Storage and Layout in Tight Spaces
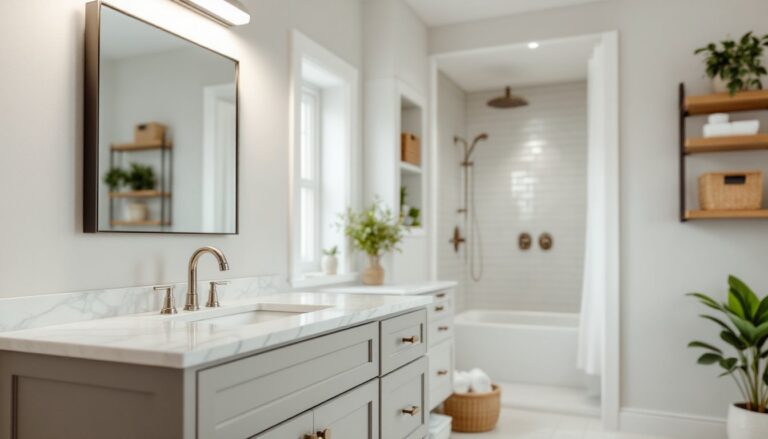
Storage is the backbone of a functional small bathroom. Vertical space is your friend: wall-mounted shelving above the toilet, a recessed medicine cabinet (if there’s a stud cavity to work with), or corner shelves steal almost no floor space. Before installing shelves, locate studs with a stud finder and secure mounting brackets with lag bolts into studs, drywall alone won’t hold weight safely in a humid environment.
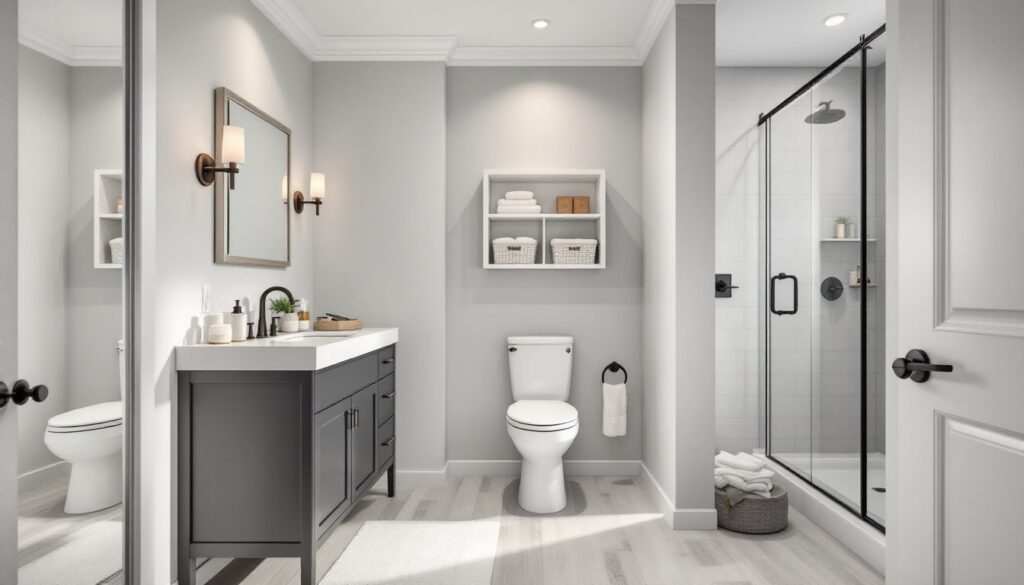
If you’re open to a partial reno, replacing a pedestal sink with a small vanity (even a 24-inch or 30-inch-wide unit) reclaims drawer and cabinet storage without reducing legroom. The trade-off is slightly harder access to plumbing, but a handyperson comfortable sweating copper or tightening supply lines can swap it. If full plumbing work intimidates you, hire a plumber for the rough-in and hook-up: you’ll save money on labor by doing prep and finishing work.
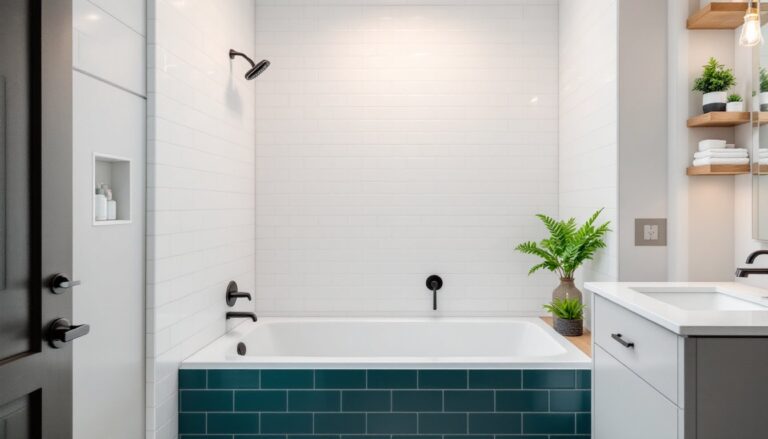
ForTub or shower enclosures, a sliding glass door or curtain rod system takes far less visual real estate than a swing-out door, critical in tight bathrooms where the door opening eats floor space. If the tub enclosure is original or problematic, clear acrylic sliding doors ($150–400) are cheaper than custom framed glass and still read as clean and modern. Layout changes, moving the toilet, relocating the sink, are tempting but expensive: they trigger plumbing permits, wall openings, and potential structural surprises. Save layout changes for major renovations where the improvement justifies the cost.
Choosing the Right Fixtures and Materials
In small bathrooms, fixture quality and size matter more than in larger spaces because you interact with them constantly and they dominate visually. Faucets should balance style with function: a single-handle or two-handle faucet in brushed nickel or matte black ($60–200) is easier to clean and looks more modern than chrome. Ensure the sink depth and width fit your countertop: a shallow sink wastes precious counter real estate.
For toilets, a comfort-height model (17–19 inches, versus standard 15 inches) is easier to use and feels less cramped. Dual-flush toilets save water without sacrificing performance. Tank style matters too, a slimline or space-saving toilet literally takes up less floor footprint and can open up movement in a tight bathroom. Fixture finishes should coordinate: if your faucet is brushed nickel, match towel bars, a vent fan trim ring, and light fixtures to the same finish for visual cohesion.
Material durability in bathrooms is non-negotiable because moisture is constant. Ceramic or porcelain tile is durable and mold-resistant: natural stone (marble, granite, slate) looks luxe but needs sealing and is slippery when wet. Budget options like laminate countertops hold up if sealed properly, but solid surface or quartz ($1,500–3,000 installed for small bathrooms) is more forgiving and easier to maintain. In terms of wall surfacing, moisture-resistant drywall (sometimes called greenboard, though modern builders prefer cement board) behind tile or around tubs prevents mold growth better than standard drywall. Grout should be 100%-silicone caulk where walls meet fixtures, and epoxy grout between tiles (not standard sanded grout) resists mold better in high-splash zones.
Lighting and Color to Expand Visual Space
Lighting transforms small bathrooms more than most renovators realize. Poor lighting makes a compact space feel dim and cave-like: good lighting opens it up psychologically. Layer your light: ambient (overhead or ceiling fixture), task (vanity sconces or above-mirror fixtures), and accent (a small LED strip under floating shelves or toe-kick lighting). This flexibility lets you set the mood and ensures you can actually see to shave, apply makeup, or check if that’s really a mole.
LED bulbs are essential, they produce less heat (reducing moisture issues), consume 75% less energy than incandescent, and last years longer. Choose warm white (2700K) for a spa-like feel or cool white (4000K) for task visibility: bathrooms often benefit from a mix. Recessed LED downlights are compact and look intentional without eating ceiling height, important in bathrooms with low ceilings. Ventilation matters too: a properly sized exhaust fan (check your bathroom square footage: most codes require 50 CFM minimum, plus 1 CFM per square foot, or one ACH, air change per hour) removes moisture before it damages walls. Install it on a timer or humidity sensor so it runs long enough after showers to prevent mold.
Color psychology matters in small spaces. Light, neutral colors (soft white, pale gray, warm beige) reflect light and feel less enclosed than dark walls. If you want color, consider a feature wall (one wall in a soft blue or sage) or colorful tiles in a shower niche. Mirrors amplify light and make spaces feel bigger, a large mirror opposite a window, if possible, bounces daylight around the room. Avoid heavy patterns on all four walls: they visually shrink a compact space. Stick with solid colors on walls and reserve pattern for a small accent (a printed shower curtain, patterned rug, or tiled shower surround).
DIY vs. Professional Help: When to Call in an Expert
Honest self-assessment saves money and prevents disasters. DIY-friendly tasks include painting, replacing hardware, installing shelving (with proper stud location), caulking, simple plumbing like faucet aerators, and grouting (if tile is already set). These require basic tools, patience, and attention to detail, but no special licensing.
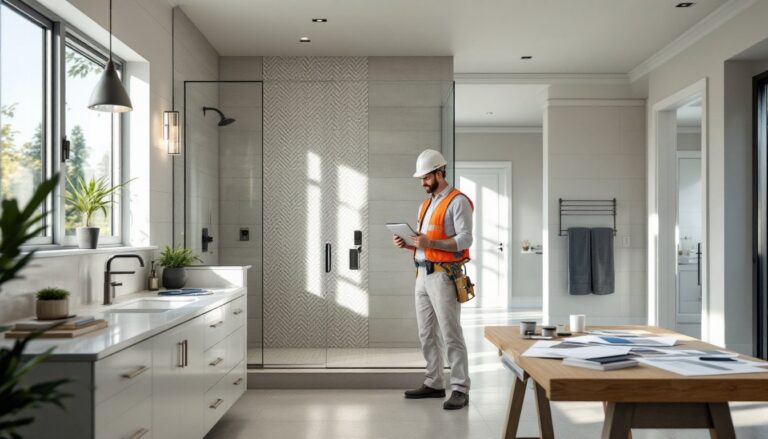
Hire a pro for: structural work (removing walls, checking load-bearing status), plumbing changes (rerouting supply lines, moving drains, venting new fixtures), electrical upgrades (new circuits, GFCI outlets near water), tile removal and underlayment work (it’s messy, time-consuming, and improper prep ruins everything), and anything involving the roof or exterior (venting, flashing, water intrusion). Toilet or sink replacement is borderline, some DIYers can handle it, but one wrong connection wastes thousands fixing water damage. When in doubt, consult a licensed plumber ($100–150/hour for a quick look). According to bathroom renovation costs in 2026 planning guides, labor often makes up 40–50% of total cost, so smart DIY saves real money without cutting corners. For hiring the right contractor for bathroom renovation, get three bids, check references, verify licensing, and confirm they carry liability insurance. A small bathroom reno is compact enough that a reputable contractor can complete it in 2–4 weeks if you’re not changing layout or major systems.
Conclusion
Small bathroom renovations prove that square footage isn’t destiny. Whether you’re doing a simple redo with fresh paint and new fixtures or a full remodel addressing layout and plumbing, the key is honest planning, strategic spending, and knowing when to DIY and when to call a professional. Start with what’s broken or unsafe, then layer in cosmetic wins, better lighting, fresh color, improved storage, and updated fixtures transform daily experience. Phase projects if budget is tight: a small bathroom reno can happen in stages without disrupting your home for months. For visual inspiration and proven approaches, bathroom renovation before and after transformations show what’s possible. With focused effort and smart choices, your small bathroom becomes a space you actually enjoy using.