Table of Contents
ToggleSmall bathrooms don’t have to feel cramped or outdated. Whether you’re tackling a bathroom renovation in a tight urban apartment or a cottage, smart planning and strategic choices can transform even the most confined spaces into functional, attractive rooms. A well-executed bathroom remodel for small bathrooms focuses on layout efficiency, multi-functional fixtures, and design choices that visually expand the space. This guide walks you through proven strategies for small bath renovation and small bath redo projects that deliver maximum impact without requiring a major structural overhaul.
Key Takeaways
- Careful layout planning and fixture positioning are essential in bathroom remodels for small bathrooms—measure your space, understand traffic flow, and use the ‘work triangle’ principle to eliminate wasted space.
- Strategic fixture choices like floating vanities, wall-mounted toilets, and corner showers with frameless glass enclosures create visual illusions of more floor space without structural changes.
- Vertical storage solutions—floating shelves, tall wall-hung cabinets, and recessed niches—maximize corners and walls while keeping the floor area clear and functional.
- Layered lighting with cool, light color tones (soft whites, pale grays, mint greens) psychologically expand small spaces and enhance both aesthetics and usability.
- Prioritize high-impact, budget-friendly upgrades like painting, hardware updates, and luxury vinyl plank flooring before committing to costly plumbing or structural work.
- Proper moisture control through quality caulking, exhaust ventilation, and appropriate materials prevents mold and structural damage while extending the life of your small bath renovation.
Plan Your Layout With Purpose
Before buying a single fixture, measure your bathroom carefully and draw it to scale. Tape down floor dimensions on cardboard and walk the space to understand traffic flow. Where does the door swing? Can you reach the towel rack without bumping the toilet? These details matter in a small footprint.
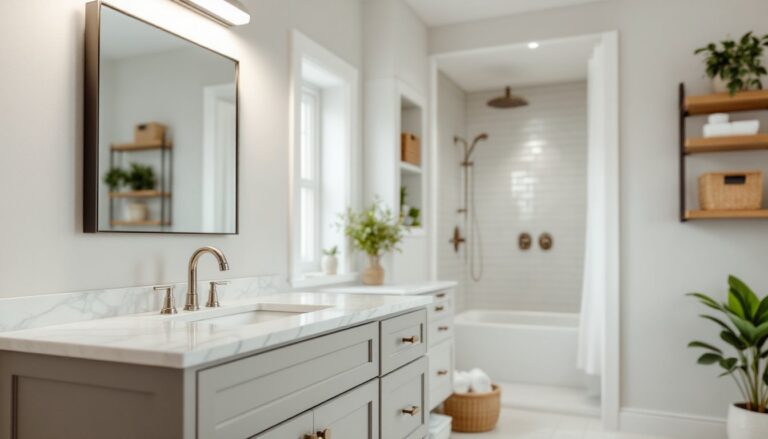
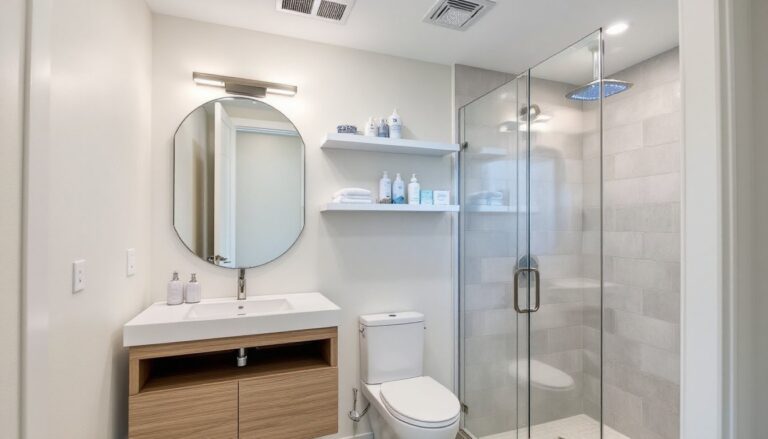
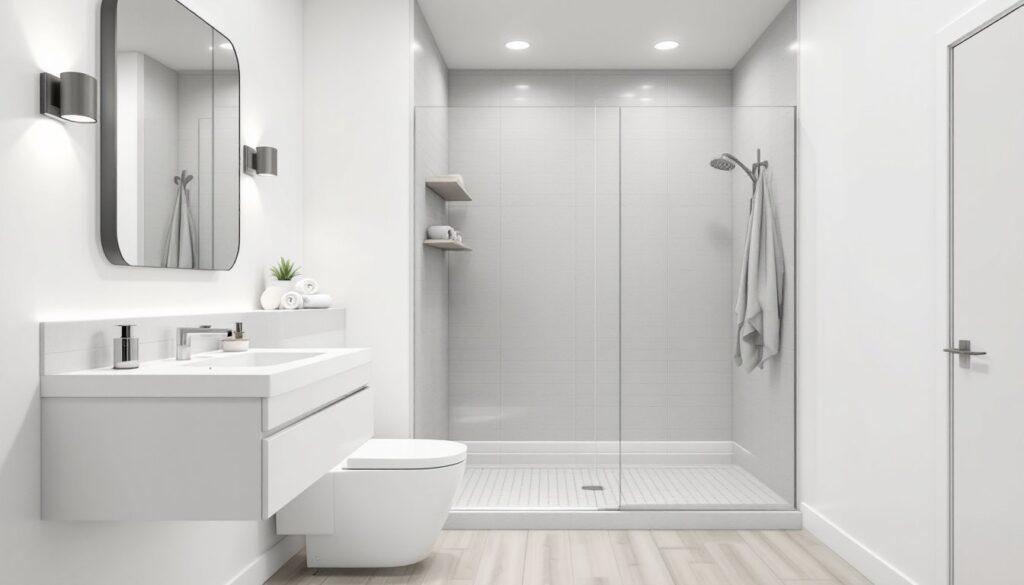
The key layout challenge in bathroom renovations for small bathrooms is eliminating wasted space. A corner toilet takes up the same footprint as a standard one, so choose fixtures based on position, not style. Floating vanities, mounted 12 to 16 inches off the floor, create the visual illusion of more floor space and simplify cleaning underneath.
Consider the “work triangle” principle borrowed from kitchen design: position the toilet, sink, and shower/tub to form an efficient triangle. Avoid placing the toilet directly opposite the entry door if possible: a visual barrier like a half-wall or angled vanity layout feels less cramped. Pocket doors or barn doors (if space permits) save swing clearance compared to hinged doors. A typical hinged door swings 18 to 24 inches into the room: a pocket door eliminates this intrusion entirely.
Choose Smart Fixtures and Storage
In a small bath redo, fixture selection is where good planning shows results. A compact, single-bowl vanity (24 to 30 inches wide) works for one person: 36 inches is the minimum for two users sharing storage. Wall-mounted faucets free up counter space and look cleaner than deck-mounted versions.
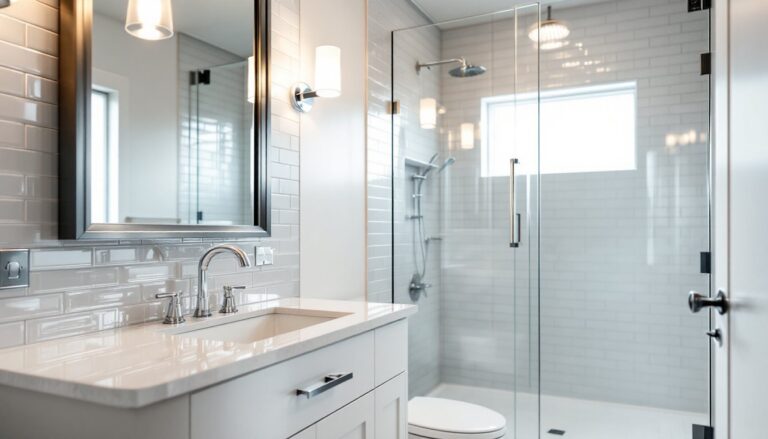
Shower enclosures deserve careful thought. A corner shower with a frameless glass enclosure visually opens the space and requires a waterproof membrane, cement backer board, and proper slope for drainage, skills many DIYers can handle, though plumbing rough-in should be checked to code. If you’re not confident in waterproofing, hire a licensed plumber for that rough-in phase. A prefabricated corner shower unit is foolproof but tends to look smaller than custom tile work.
Tank-style toilets waste visual space: wall-mounted (in-wall tank) or compact low-profile toilets trim 2 to 4 inches off the visual footprint. Expect to pay $500 to $1,200 installed if rough-in relocation is needed, a structural change that warrants a licensed plumber.
Optimize Vertical Space With Wall-Mounted Solutions
Vertical storage turns walls into real estate. Floating shelves above the toilet (leaving 24 inches clear for headroom) hold towels, toiletries, and décor without consuming floor area. Install shelves on 2×4 studs with heavy-duty brackets rated for 25 pounds each: use lag screws into studs, never drywall anchors alone.
A narrow linen tower cabinet (12 inches wide, 60+ inches tall) or tall wall-hung cabinet next to the sink maximizes corner real estate. Recessed medicine cabinets (flush with the wall) trim precious inches compared to surface-mounted versions and cost less to install if the wall is framed before drywall goes up, much harder to retrofit after finishing.
A built-in niche (12 x 24 inches) in the shower for soap and shampoo eliminates counter clutter and shelf dust. Frame it between studs during rough-in: waterproof with a kerdi pan or similar membrane (a waterproof composite layer designed for wet areas). Tile over it to match the surround.
Master Lighting and Color to Expand Your Space
Light transforms small bathrooms psychologically and functionally. Dim, shadowy corners feel cramped: bright, even light opens perception. Install a combination exhaust fan with integrated LED lighting (rated for moisture and HVAC ducting), moisture control prevents mold and prolongs paint longevity.
Layered lighting beats a single overhead fixture. Pair ceiling-mounted ambient light with task lighting (wall sconces flanking the mirror, rated for damp locations per NEC Article 410 requirements). A small LED recessed light kit over the tub or shower corner adds drama and function without bulk.
Color psychology works in tight spaces. Light, cool tones (soft whites, pale grays, mint greens) reflect light and recede visually, making walls feel farther away. High-contrast accent walls (one darker shade behind the toilet or at the tub end) create focal points that guide the eye and prevent monotony. Avoid saturated, dark colors unless you pair them with bright ambient lighting to counter the shrinking effect.
Matte or satin finishes hide water spots and soap residue better than glossy finishes in shower zones. Use semi-gloss or satin paint rated for bathrooms (contains mildew inhibitors) on walls: consider glossy finishes only on trim and doors where moisture is less frequent. Test colors under your actual lighting before committing: paint samples dry differently than they appear wet.
Prioritize Budget-Friendly Upgrades for Maximum Impact
Not every small bath renovation requires gut renovation spending. Prioritize changes that deliver visible, functional returns. Painting walls ($200–$400 in labor and materials) and updating hardware (new mirror, faucet, towel bars, $150–$300) refresh dated spaces without touching plumbing or electrical.
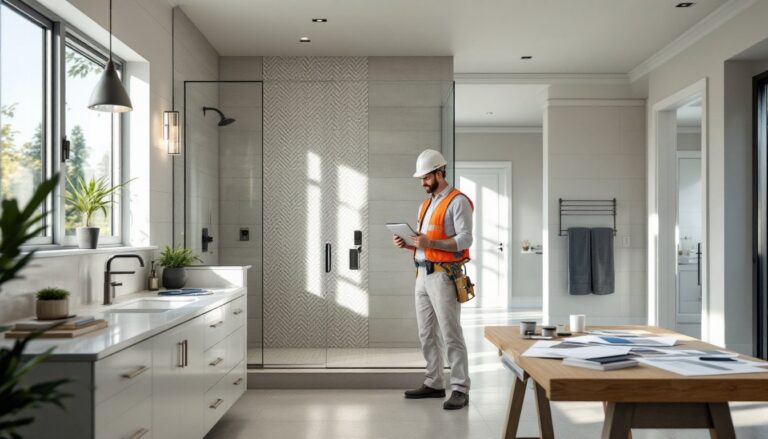
Hiring the right contractor for bathroom renovation is crucial when structural or plumbing work is needed. A bathroom renovation contractor ensures permits are pulled, inspections pass, and code compliance is met, especially important for vent ducting, electrical outlets, and load-bearing walls.
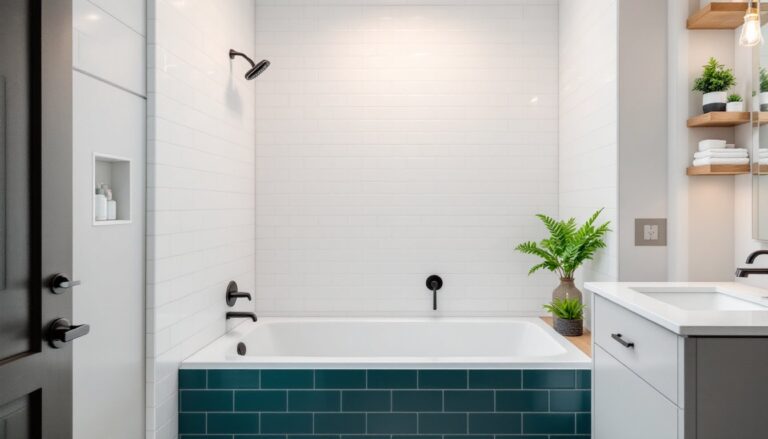
Flooring strategy saves money and time. Luxury vinyl plank (LVP) ($2–$5 per sq. ft.) mimics tile or wood, installs over existing floors without removing old tile (if underlayment is level), and tolerates moisture better than laminate. Ceramic or porcelain tile ($3–$10 per sq. ft. plus labor) is durable and slips-resistant but requires professional installation in wet areas to ensure proper slope and waterproofing.
Bathtub refinishing ($300–$600) revives chipped enamel without full replacement. Caulking seams with 100% silicone (not acrylic caulk) prevents water intrusion behind walls. Recaulking annually in high-moisture zones prevents mold buildup and structural rot. Design inspiration for small bathroom layouts appears on design sourcebooks and remodeling guides, which showcase real-world space solutions and product recommendations for tight quarters.
Conclusion
Small bathroom remodels succeed through intentional layout, vertical thinking, and honest material choices. Measure, plan, and prioritize upgrades that solve real problems (storage, ventilation, outdated fixtures) before pursuing purely cosmetic changes. Whether you’re managing a DIY small bath redo or hiring professionals for structural work, respecting building codes and moisture control prevents costly surprises later. Start with a clear plan, tackle one phase at a time, and the results will transform how you use and feel in that small space.