Table of Contents
ToggleYour bathroom doesn’t have to stay stuck in the past. Whether you’re dealing with chipped tiles, outdated fixtures, or dim lighting, bathroom reno ideas that fit your budget are easier to execute than ever. The key is knowing where to focus your time and money for maximum impact. Not every upgrade requires gutting the space or hiring a contractor, many bathroom remodel suggestions deliver stunning results with just a weekend or two of work. Let’s walk through practical, wallet-friendly changes that’ll have your bathroom looking refreshed without very costly.
Key Takeaways
- Bathroom reno ideas like swapping fixtures, hardware, and lighting deliver instant visual upgrades for $30–$300 with minimal DIY effort—most projects take a weekend or less.
- Strategic lighting upgrades, especially vanity sconces at eye level (60–66 inches) and dimmable LEDs, transform both functionality and bathroom ambiance without major construction.
- Using semi-gloss or satin moisture-resistant paint after proper prep work (TSP cleaning and stain-blocking primer) is the cheapest way to completely refresh your bathroom mood.
- Accent tile projects like subway tile backsplashes behind the toilet or mirror create focal-point drama for $200–$500 and are achievable with basic DIY tools and planning.
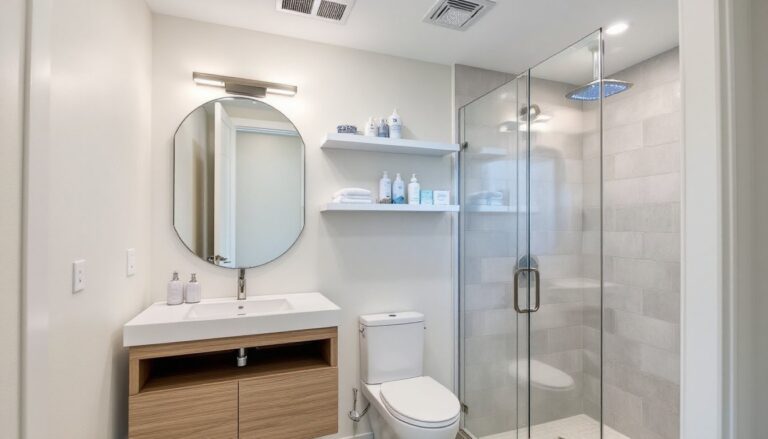
- Smart storage solutions using floating shelves, recessed medicine cabinets, and under-sink organizers eliminate clutter and make compact bathrooms feel larger and more organized.
- Quality textiles, curated accessories, and a statement mirror for under $300 deliver spa-like luxury that ties all bathroom remodel suggestions together into a cohesive, refreshed space.
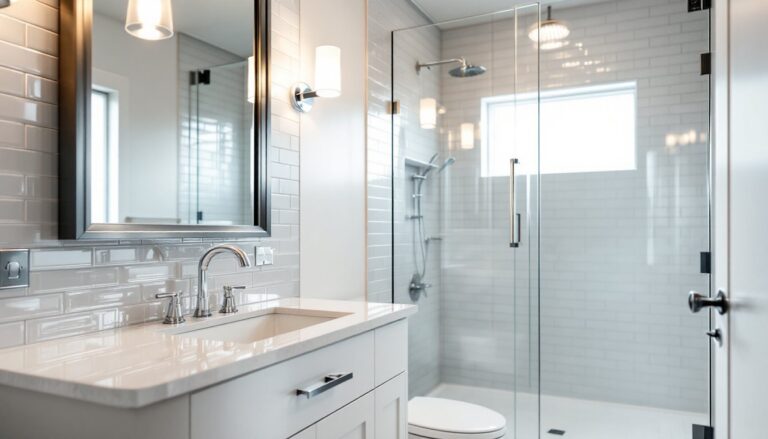
Refresh Your Fixtures and Hardware
Swapping out your faucet, showerhead, and cabinet hardware is one of the fastest bathroom redo ideas. New fixtures catch light differently and instantly signal an upgrade, guests notice immediately, even if they can’t pin down why the space feels fresher.
Start with the faucet. A single-handle or modern two-handle faucet (roughly $80–$300 depending on finish) replaces in about 30 minutes if you’ve got basic plumbing familiarity. Turn off the shutoff valve under the sink, disconnect the old supply lines with an adjustable wrench, unscrew the mounting nuts, and slide the new faucet through the deck. Reconnect supply lines, tighten everything down, and test for leaks. Don’t overtighten, you’ll crack the ceramic and create a leak that’ll haunt you later.
Showerheads are even easier. Unscrew the old one by hand (or with a small wrench if it’s stuck), wrap plumber’s tape around the threads of the new one, and hand-screw it on. Rain showerheads and low-flow models are affordable and make a visual and functional difference. Look for WaterSense-certified options that use 2 GPM or less, you’ll save on water bills and still get decent pressure.
Cabinet hardware, knobs and pulls, costs $30–$100 total for a bathroom set. Measure your existing hole spacing (standard is 3 inches for pulls, 1.25 inches for knobs), drill new holes if needed, and swap. This small change shifts the entire aesthetic. Matte black, brushed brass, and chrome finishes are timeless choices that coordinate well across most bathroom styles.
Update Your Lighting for Style and Functionality
Bad lighting makes any bathroom feel cramped and tired. Good lighting, especially around the mirror, transforms how you see your space and transforms how you feel in it.
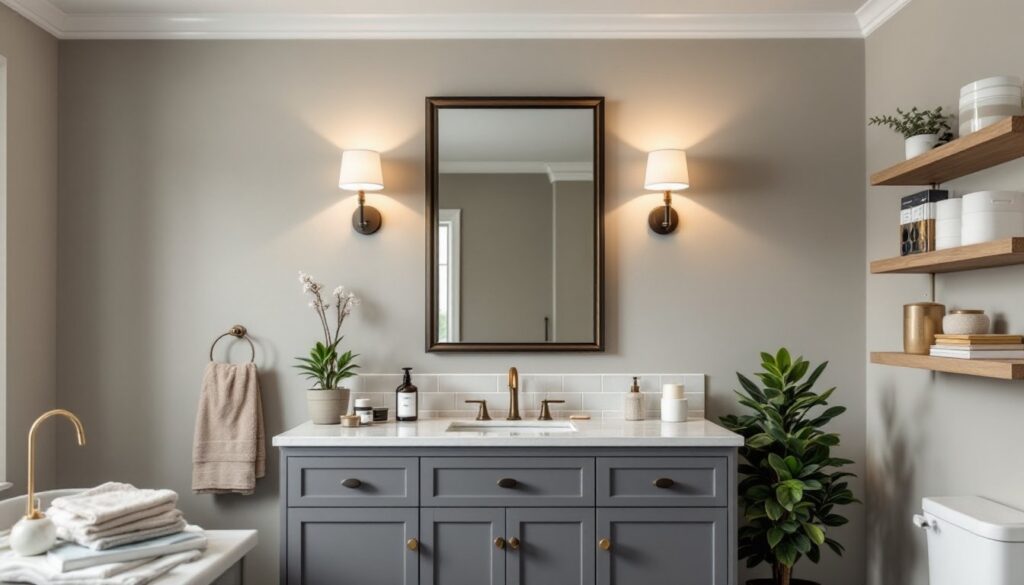
Vanity lights flanking your mirror are non-negotiable. A pair of sconces ($50–$200 each) with warm-white bulbs (2700K color temperature) eliminates shadows on your face and creates a spa-like atmosphere. Wall-mount them at eye level (roughly 60–66 inches from the floor), equidistant from the mirror centerline. If you’re not comfortable running electrical, stick to plug-in options or battery-powered LED strips rated for humid environments.
If you have an overhead ceiling light, replace the fixture and swap to dimmable LED bulbs. Dimmers are game-changers for bathroom ambiance, bright for morning routines, soft for evening wind-down. A simple dimmer switch costs under $30 and wires in place of your standard switch (turn off the breaker, swap out the switch, reconnect wires).
Consider accent lighting solutions that highlight bathroom remodel suggestions. Recessed lighting or LED strips under the vanity add visual interest and function. Waterproof fixtures rated for wet/damp locations (check the IP rating on packaging) are essential, your bathroom humidity will destroy regular fixtures.
Bulb choice matters more than you’d think. Warm white (2700K) feels inviting: cool white (4000K) suits task-heavy spaces. Avoid flickering budget LEDs, invest $10–$15 per bulb in quality dimmable options that won’t buzz or strobe.
Paint and Tile: The Dynamic Duo of Bathroom Transformation
Choosing the Right Paint and Colors
Paint is the cheapest way to completely change bathroom mood. A gallon covers roughly 350 square feet, so one gallon handles most bathrooms. The trick: use semi-gloss or satin finish paint rated for moisture and mildew resistance. Flat or eggshell won’t hold up to bathroom humidity. Sherwin-Williams, Benjamin Moore, and Behr all make bathroom-specific lines that resist mold and staining.
Prep is where success happens, not application. Scrub walls with TSP (trisodium phosphate) solution and a stiff brush to remove soap residue, hard water deposits, and mildew stains. Rinse thoroughly and let dry completely (at least 2 hours). Prime any water stains with stain-blocking primer or you’ll see them bleed through three coats of paint. Caulk gaps around the tub, toilet base, and baseboards with paintable silicone caulk rated for bathrooms, this stops water from seeping behind tile and drywall.
Color psychology works in bathrooms. Soft blues, greens, and grays feel calming and spa-like. Warm neutrals (warm gray, greige, soft beige) make compact bathrooms feel larger. Test paint samples on several walls over 2–3 days to see how natural light and artificial light interact. What looks great under store lighting can feel completely different at home.
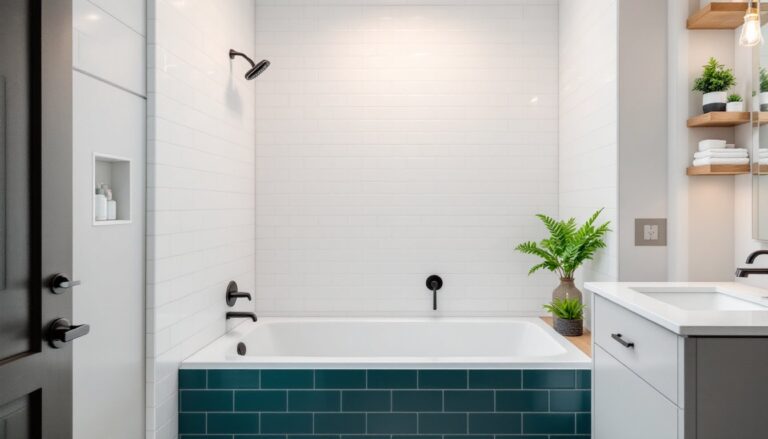
Accent Tiles and Creative Backsplashes
Full tile removal is a multi-day job that often requires professionals. But accent tiles? That’s within DIY reach. A subway tile or mosaic accent wall behind the toilet, around the mirror, or as a shower niche backsplash creates focal-point drama for $200–$500 and a weekend of labor.
Measure your target area carefully. Subway tiles are typically 3×6 inches or 4×8 inches. Plan your layout so you avoid slivers at edges, start from the center and work outward. Use a notched trowel (check tile size to select the right notch, usually 1/4 inch for small tiles) to spread thin-set mortar evenly. Press tiles firmly, using tile spacers to keep gaps uniform (typically 1/8 inch). Let thin-set cure 24 hours before grouting.
Grouting comes next. Mix unsanded grout (for grout lines under 1/8 inch) with water to peanut butter consistency. Work diagonally across tiles with a grout float, pressing grout deep into joints. After 15–20 minutes, wipe excess with a damp sponge, then seal grout once fully cured (usually 3 days) with penetrating sealer to prevent staining and mold.
Smart Storage Solutions and Organization
Clutter kills bathroom vibes. Hidden storage transforms chaos into calm. Floating shelves, recessed medicine cabinets, and under-sink organizers work wonders without structural changes.
Floating shelves cost $30–$150 per shelf (depending on material and length) and require sturdy wall anchors or studs. Use a stud finder to locate wall framing, always anchor into studs or use heavy-duty toggle bolts if studs aren’t positioned where you want shelves. Install at eye level or above the toilet for towel and product storage. Open shelves work best with curated items, rolled towels, matching containers, a few plants. It’s styling, but it’s also storage.
Recessed medicine cabinets fit into existing wall cavities (if you have one) or surface-mount and look built-in. They cost $100–$300 and take a couple hours to install. They hide medications, skincare, and hair tools while keeping counters clear. Frameless mirror cabinets feel modern: framed styles suit traditional bathrooms.
Under-sink organization doesn’t require construction. Pull-out drawers, tiered shelving racks, and hanging organizers ($20–$50) maximize wasted space. Label containers so everyone knows where things live. This is practical storage, cleaning supplies, extra rolls, hair tools, that keeps the bathroom functional and visually clean.
Vertical space is your friend in compact bathrooms. Wall-mounted shelving, over-toilet organizers, and tall narrow cabinets use square footage efficiently. Mirrored surfaces reflect light and make spaces feel larger, a bathroom remodel suggestion that works in any budget.
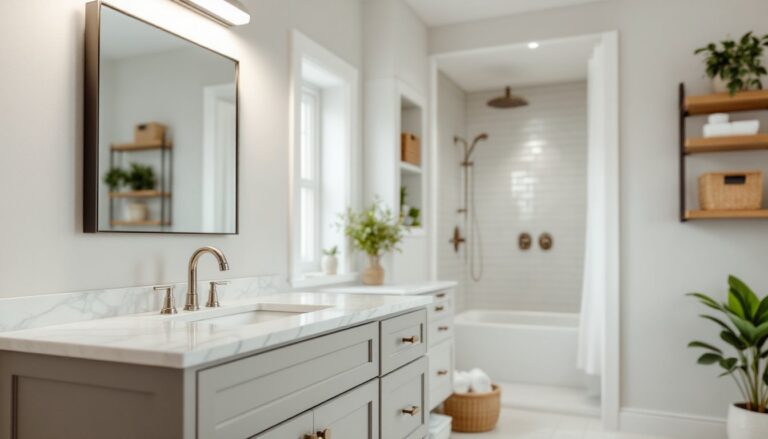
Add Luxury With Textiles and Accessories
Textiles and accessories are the makeup of a bathroom, they transform how a space feels. Quality towels, a soft bath mat, and well-chosen accessories deliver spa-like luxury for under $300.
Invest in heavyweight towels (600+ GSM cotton). They feel better, absorb more, and last longer than thin versions. Match or complement your wall color, crisp white towels read clean and contemporary: warm grays or blues coordinate with most palette choices. A good bath mat ($30–$80 in quality cotton or memory foam) cushions your feet and adds warmth underfoot, psychologically important in small spaces.
Accessories matter more than you’d expect. Matching soap dispensers, toothbrush holders, and tissue box covers ($40–$100 total) create visual cohesion. Dark finishes or metallic accents coordinate with updated fixtures. A small plant or two (low-light options like pothos or snake plants tolerate bathroom humidity) adds life and freshness. Scent, a diffuser with essential oils or a lightly scented candle, completes the sensory upgrade.
Mirror framing is an underrated detail. A simple frame upgrade (or a new statement mirror, $100–$300) pulls the whole aesthetic together. Backlit mirrors are trendy but expensive ($400+): standard framed mirrors deliver impact for less. Remodelista and home design inspiration from Houzz showcase how textiles and accessories complete bathroom transformations at every budget level.
Rugs and shower curtains complete the picture. A washable cotton rug ($30–$80) and a quality shower curtain or liner ($25–$100) tie colors together. These pieces are easily swapped if you change direction, making them low-risk investments.